PagerDuty Permissions
PagerDuty permissions in Rootly are tied to the PagerDuty user who completes the OAuth connection. That means Rootly can only read from and write to the PagerDuty objects that the authenticated PagerDuty user has access to. Choose the PagerDuty account carefully, and use a service account when possible so the integration remains stable over time.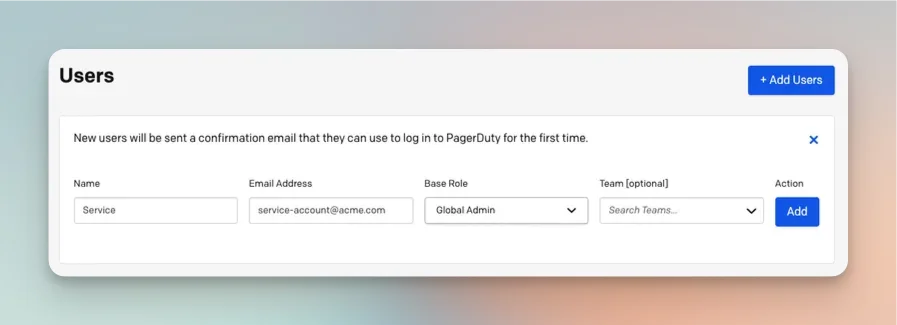
Install PagerDuty in Rootly
Open PagerDuty in the integrations catalog
Locate PagerDuty in the Integrations catalog and select Setup.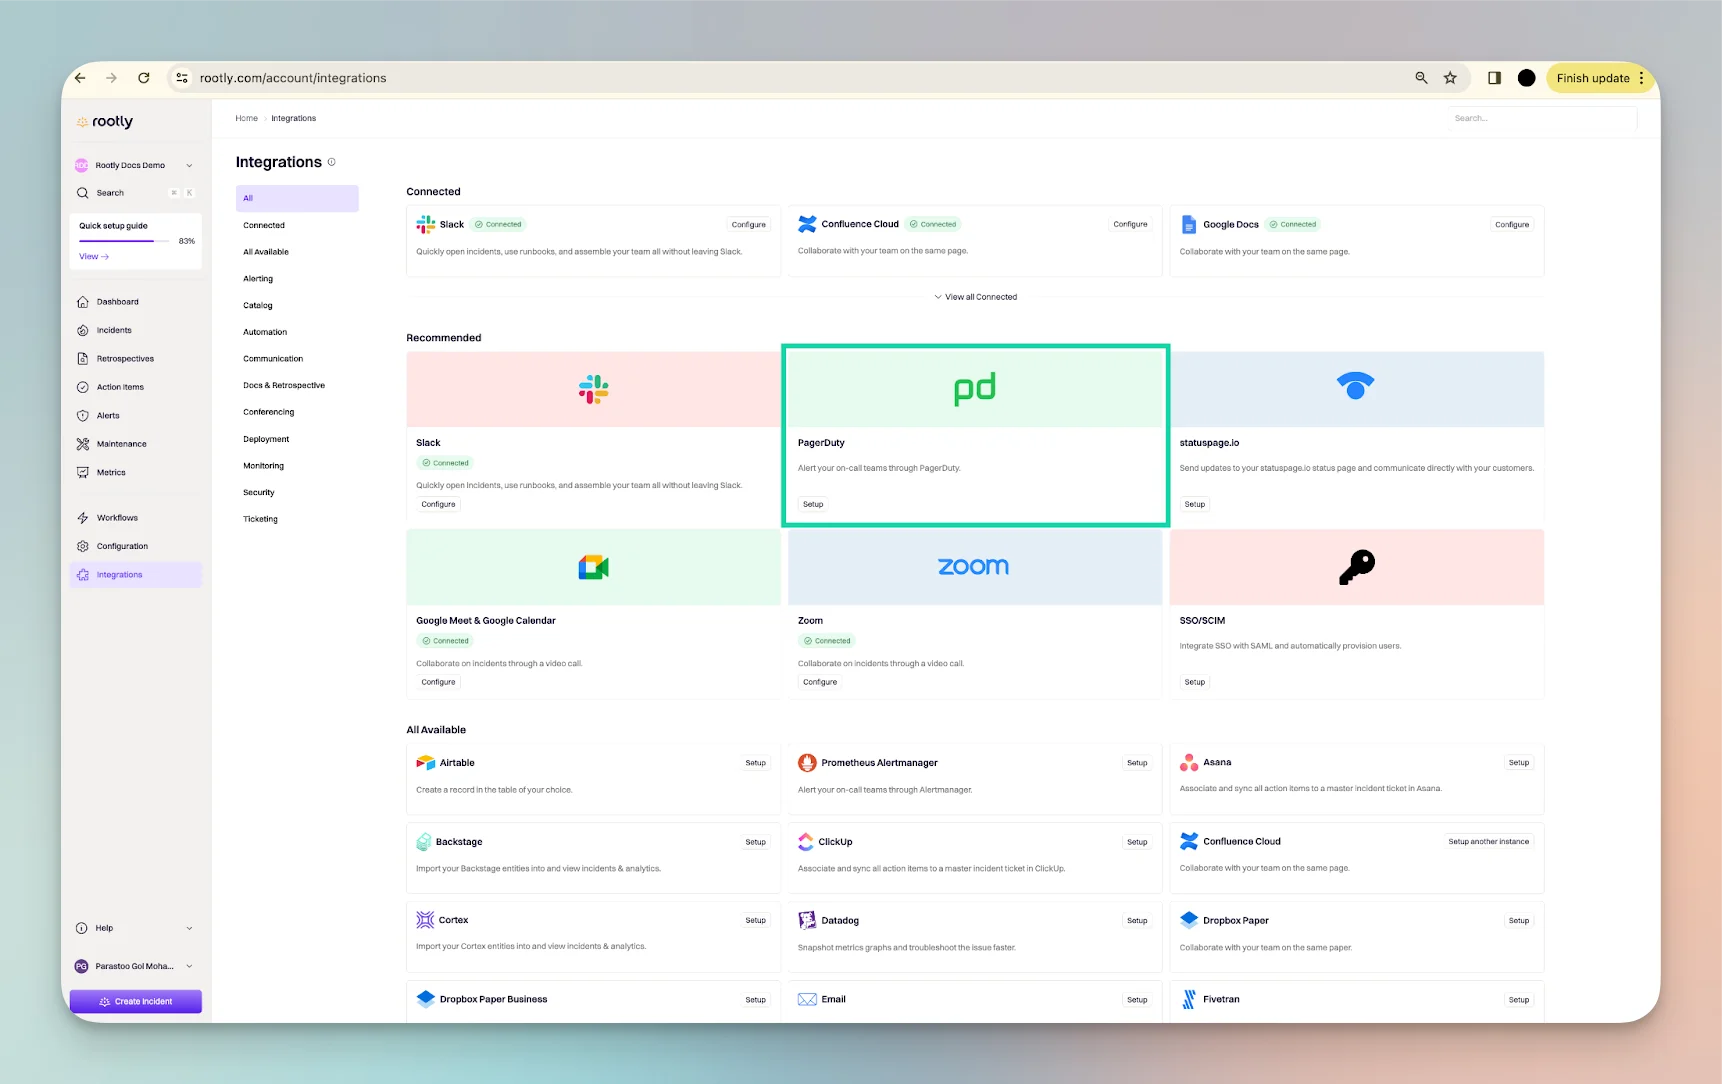
Sign in to PagerDuty
During setup, you will be prompted to sign in to PagerDuty or create a PagerDuty account if needed.
Authorize Rootly in PagerDuty
After signing in, grant Rootly permission to connect to your PagerDuty account.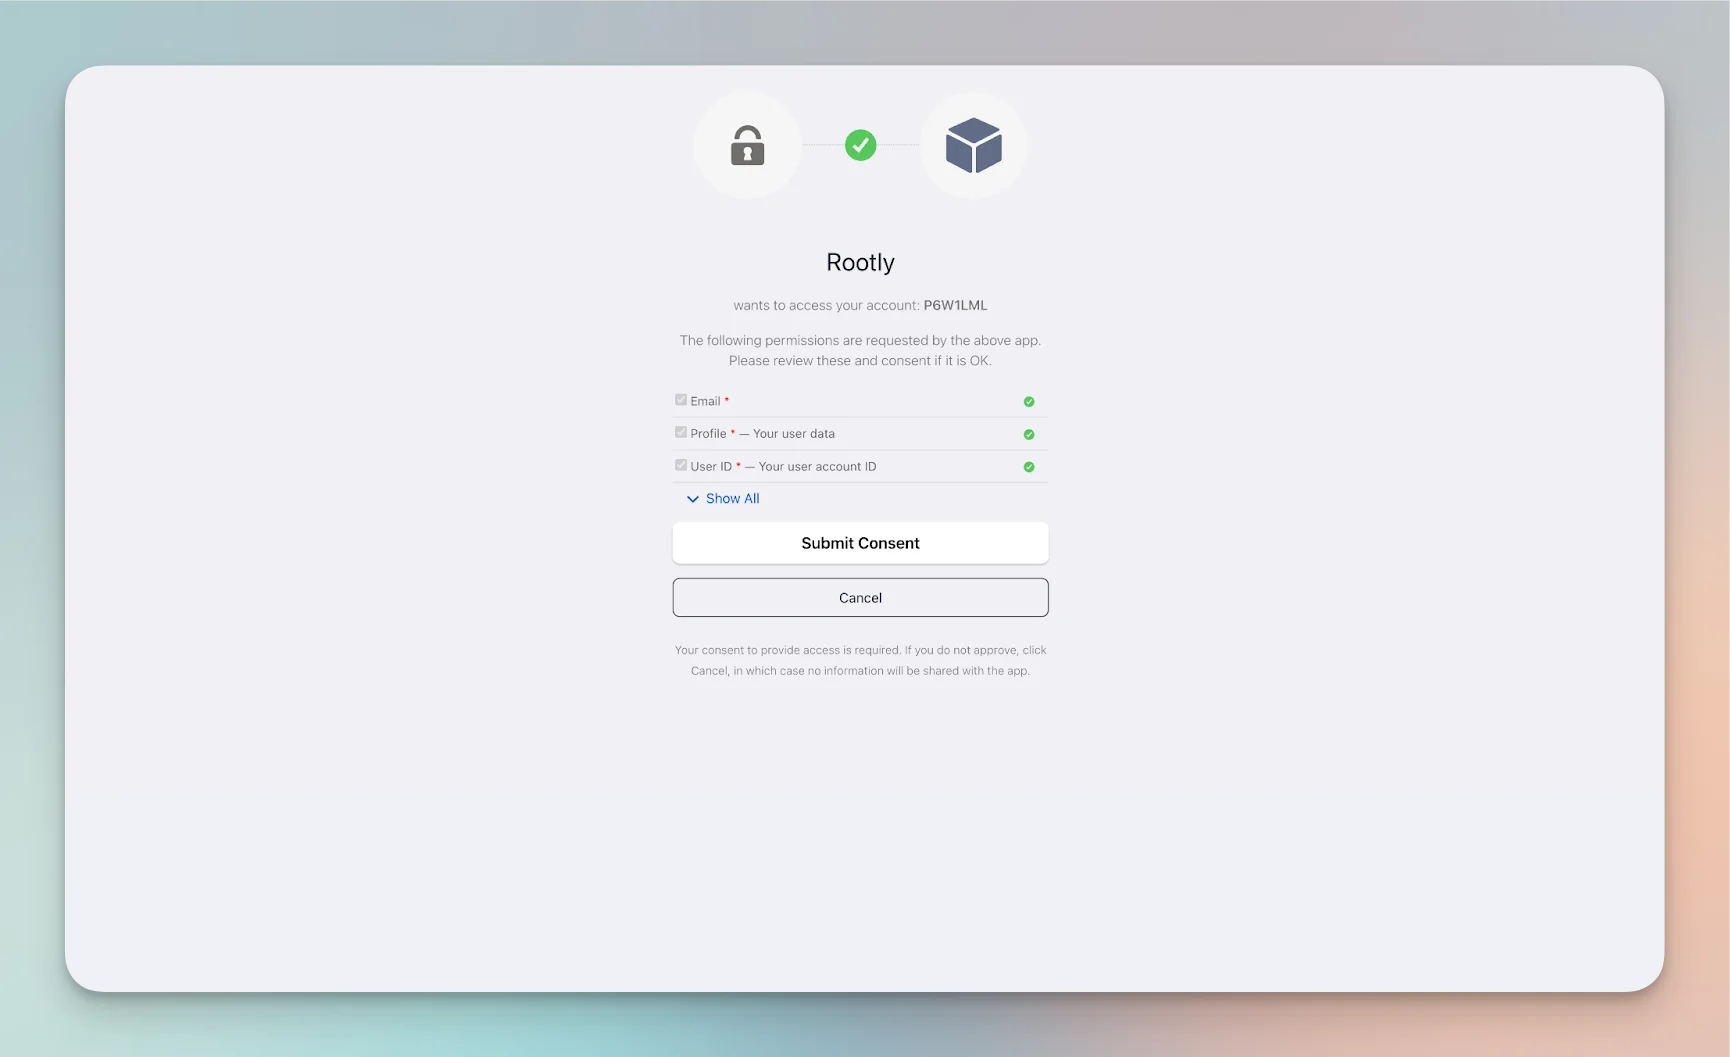
Complete the installation
Once authorization is complete, the PagerDuty integration is connected in Rootly.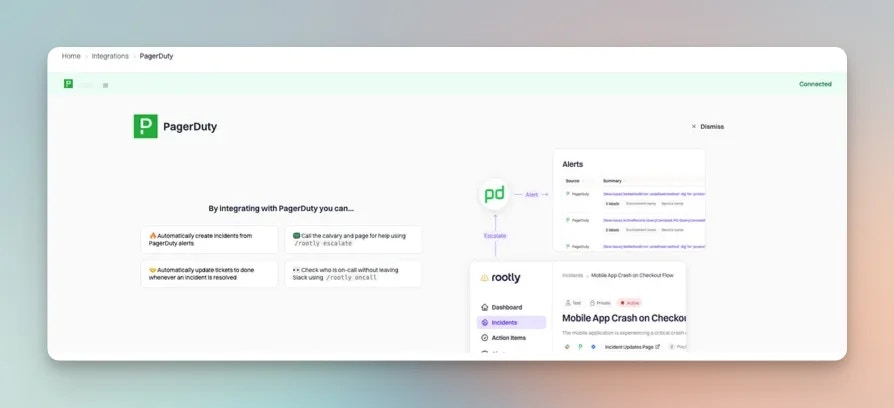
Set Up PagerDuty Webhooks
PagerDuty webhooks allow Rootly to receive supported PagerDuty webhook events for alerts and incident-related activity.Rootly attempts to create the webhook for you automatically if the authenticated PagerDuty user has permission to create webhooks. If not, you can still create the webhook manually in PagerDuty.
Via the PagerDuty Web UI
Open Generic Webhooks in PagerDuty
In PagerDuty, navigate to Integrations > Generic Webhooks.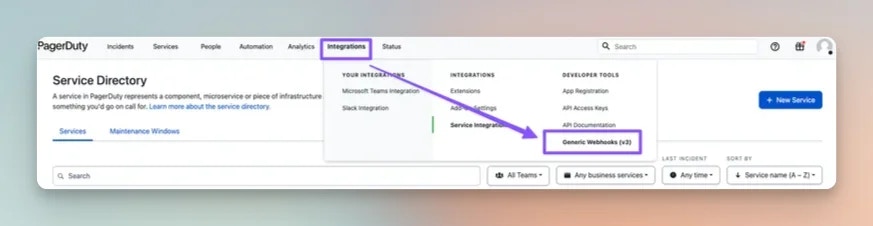
Create a new webhook
Select + New Webhook to open the webhook creation form.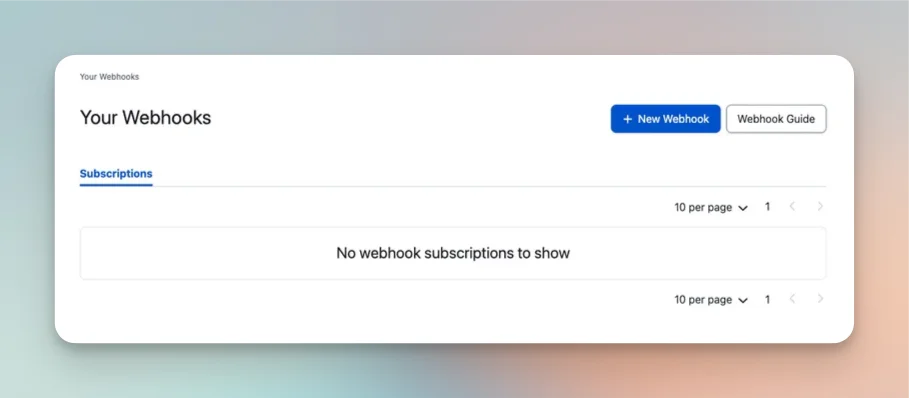
Enter the Rootly webhook settings
Use the following configuration in PagerDuty: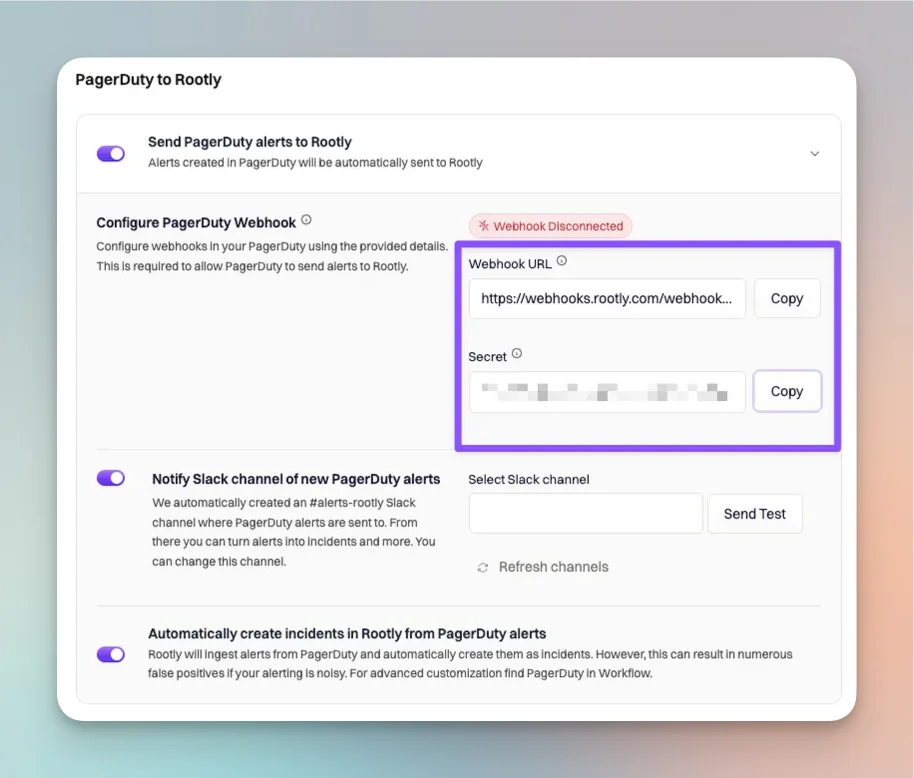
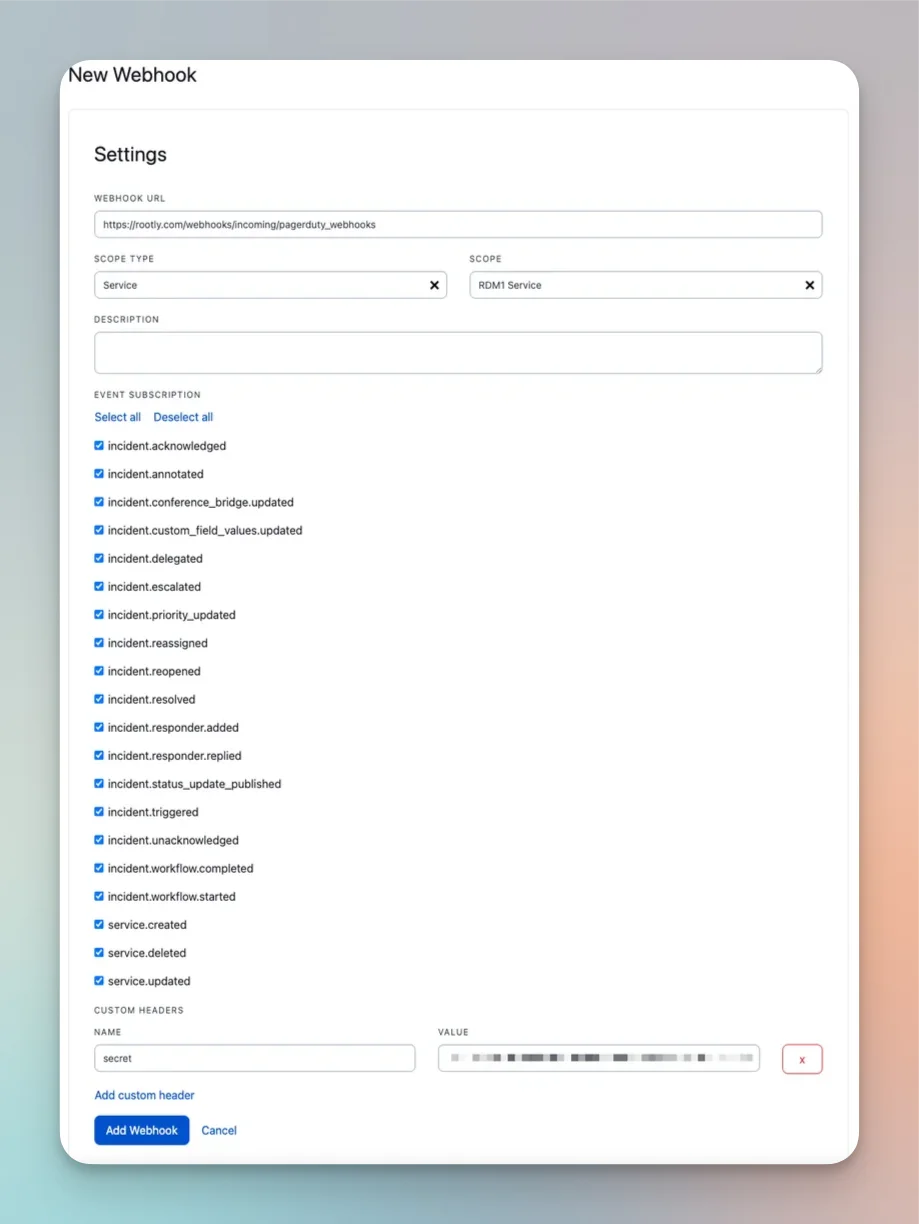
- Webhook URL:
https://webhooks.rootly.com/webhooks/incoming/pagerduty_webhooks - Scope Type: Choose one of:
Service— only events for the selected service are sent to RootlyTeam— only events for the selected team are sent to RootlyAccount— events across the PagerDuty account are sent to Rootly
- Description: Optional
- Custom Header Name:
secret - Custom Header Value:
<secret>
secret value is unique to your Rootly account.Choose webhook event subscriptions
Rootly supports the following PagerDuty webhook event types:We recommend selecting the supported incident events relevant to your Rootly workflows.
Finish the webhook setup
After completing the form, select Add Webhook.PagerDuty may display a PagerDuty-generated webhook secret as part of its confirmation flow. You do not need that value for the Rootly integration.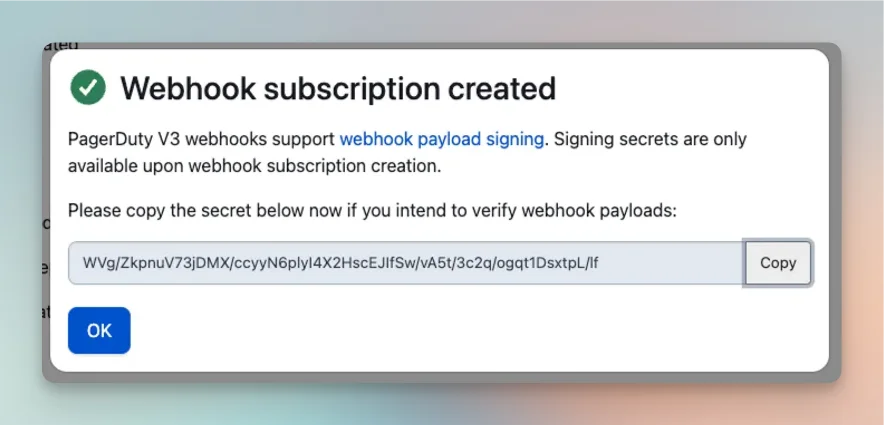
Via the PagerDuty API
PagerDuty webhooks can also be created through the PagerDuty API. Use the same Rootly endpoint and secret shown in the web UI setup:- URL:
https://webhooks.rootly.com/webhooks/incoming/pagerduty_webhooks - Header:
secret: <TOKEN>
Next Steps
After installation, continue with:Smart Defaults
Review the default PagerDuty settings and recommended configuration options.
Alerts
Configure how Rootly ingests supported PagerDuty webhook events as alerts.