

Installation
You can set up this integration as a logged in admin user in the integrations page: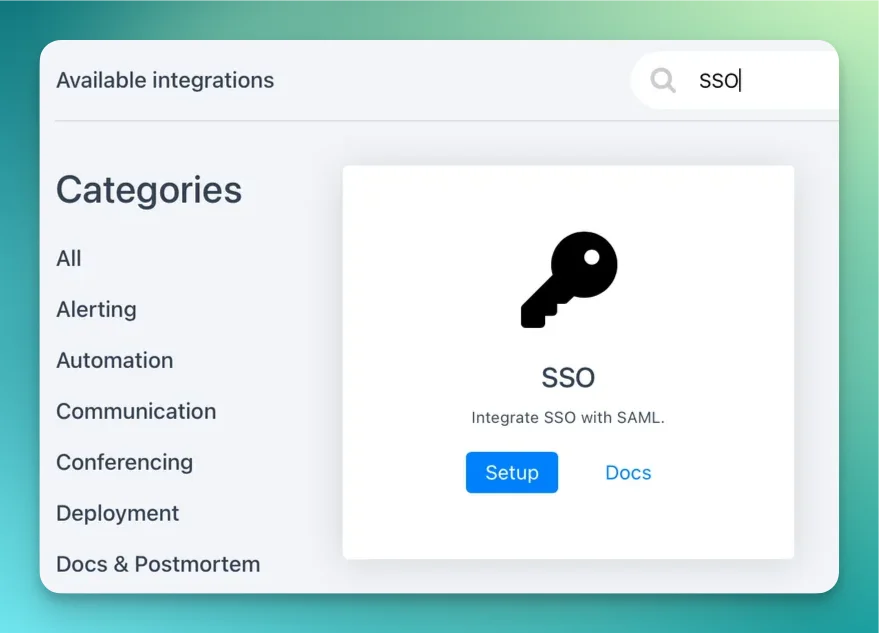
Identity Providers
Rootly is compatible with any identity provider supporting SAML 2.0. Depending on the identity provider, you might be asked for the following information during your setup process:Service Provider Details
SAML Attribute Mapping
Rootly reads the following attributes from the SAML assertion. Email is taken from the NameID element and is required. All other attributes are optional but recommended for accurate Just-In-Time (JIT) provisioning.Certificate Requirements
Rootly requires a PEM-encoded X.509 certificate from your IdP to validate SAML assertions.- Must be in PEM format with
-----BEGIN CERTIFICATE-----and-----END CERTIFICATE-----headers - Must not be expired — Rootly rejects expired certificates at save time
- Must match the certificate your IdP uses to sign SAML responses
Okta
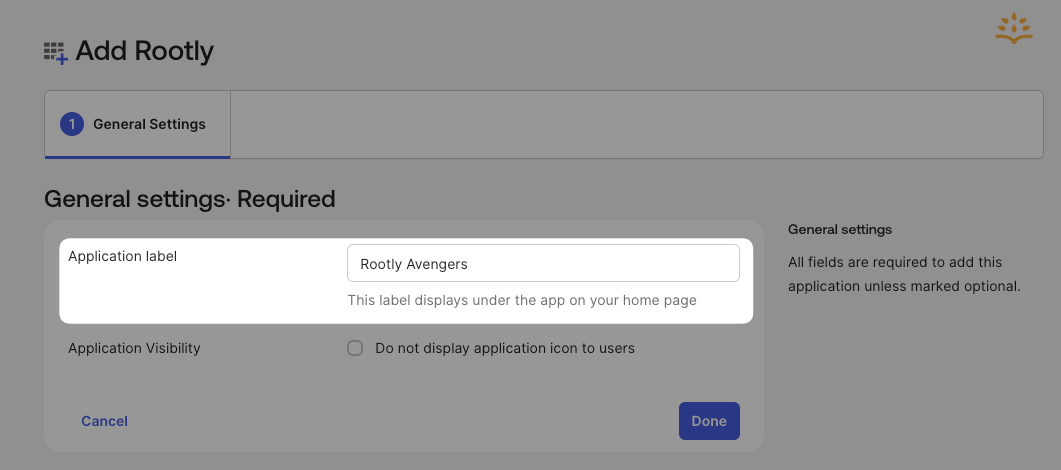
Let’s go to the Applications > Applications > Browse App Catalog.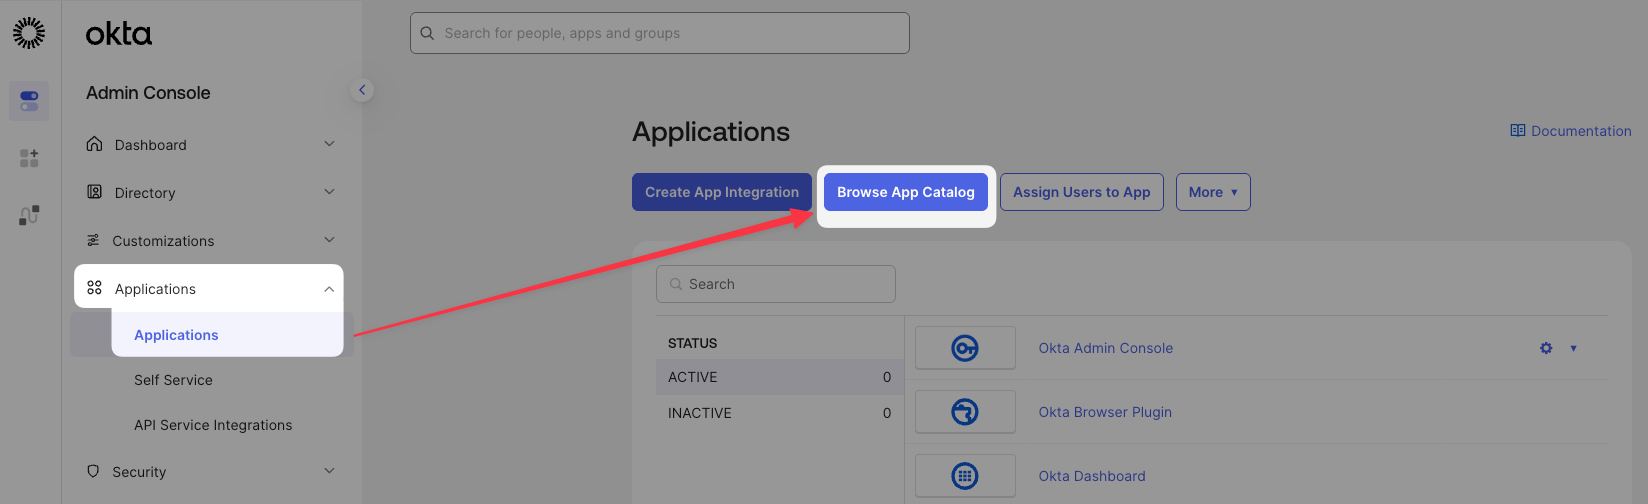
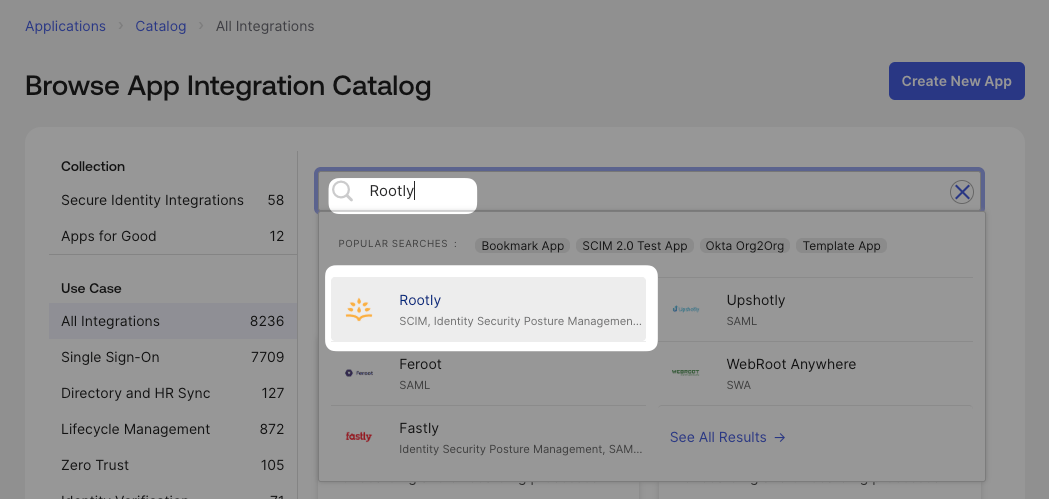
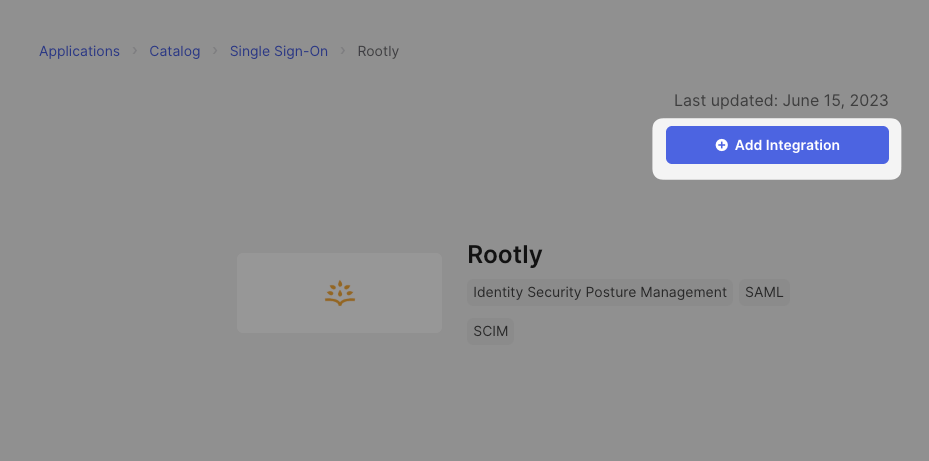
TIP: If you’re planning on using multiple orgs on Rootly, consider naming each Rootly app in Okta a name that corresponds to each org.
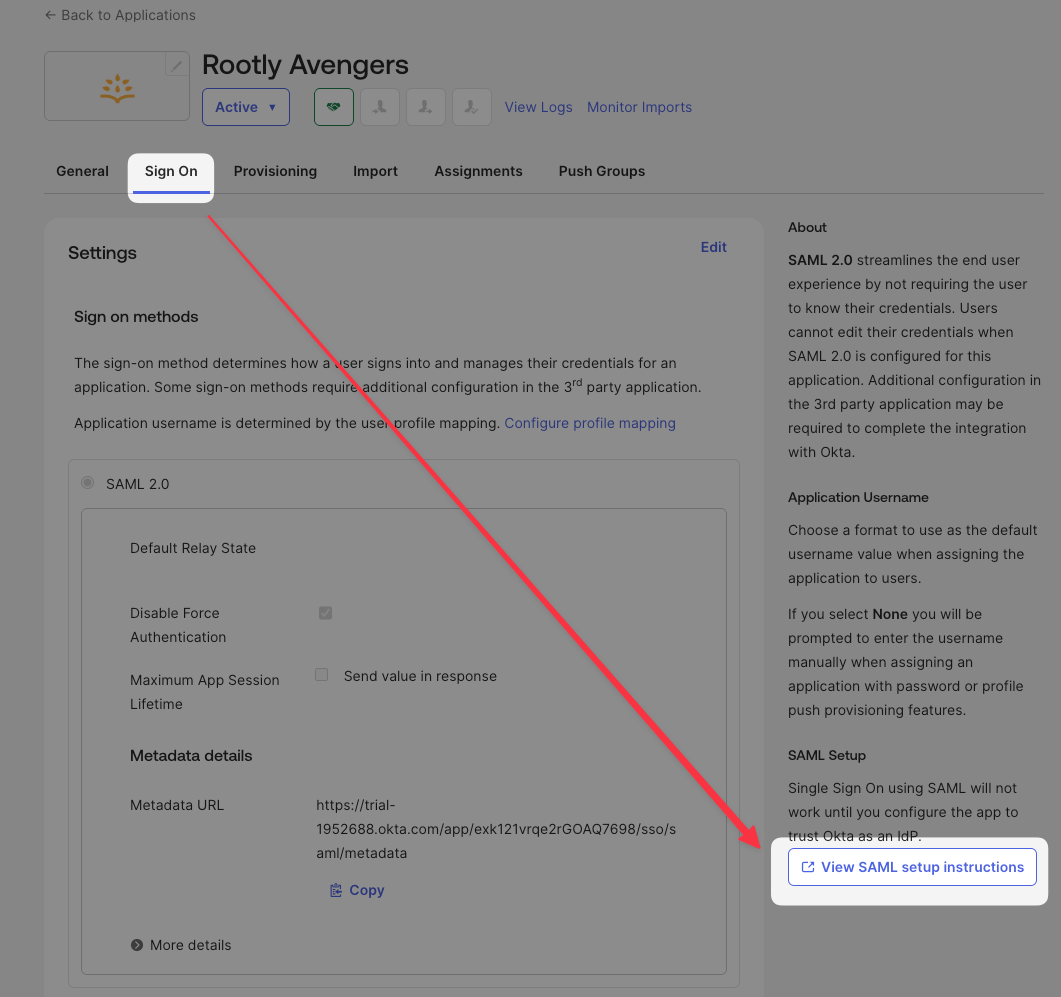
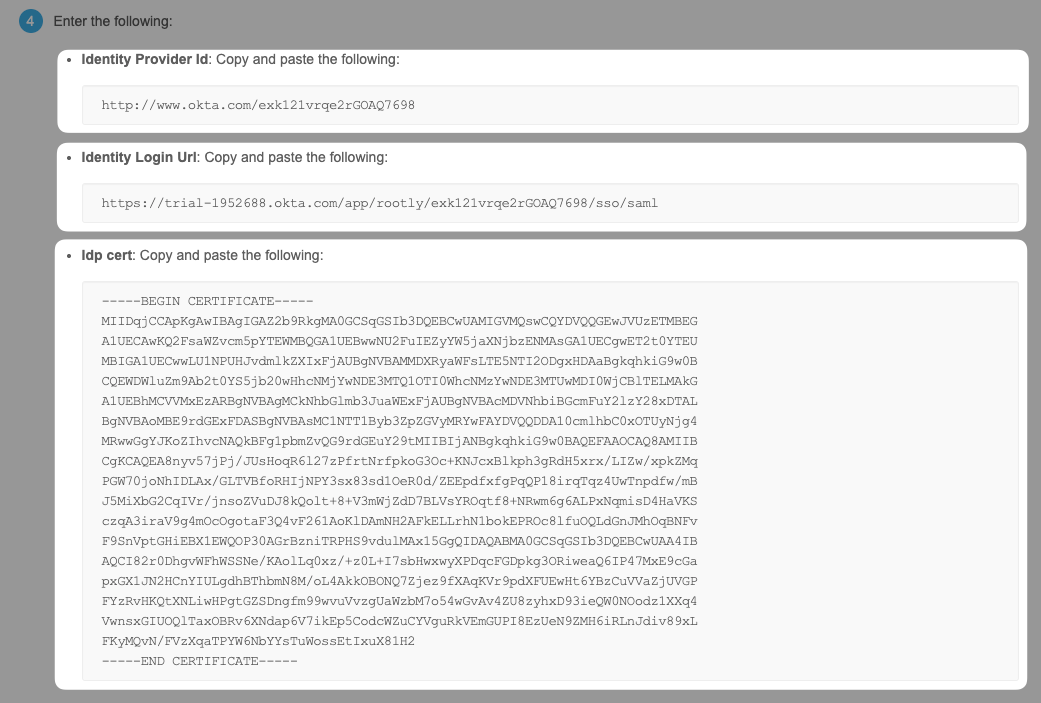
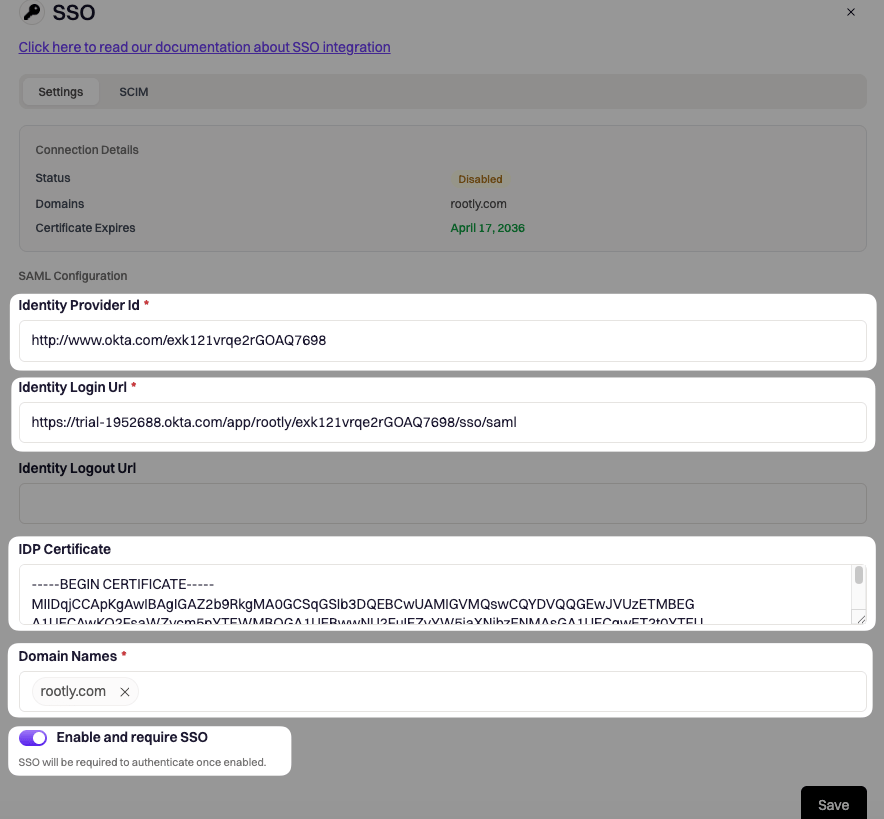
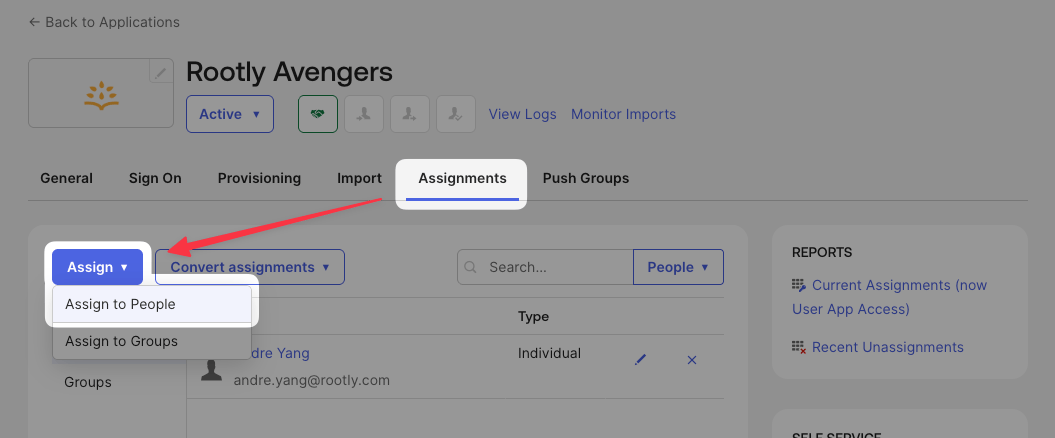

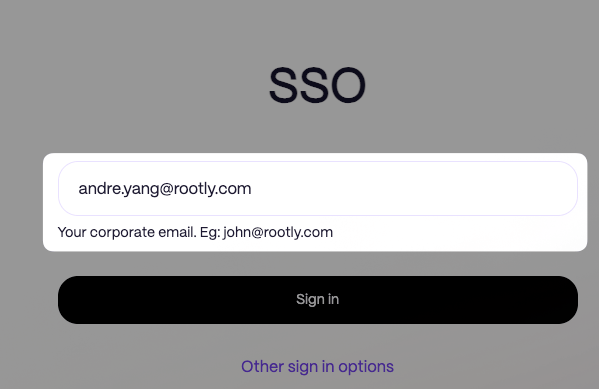
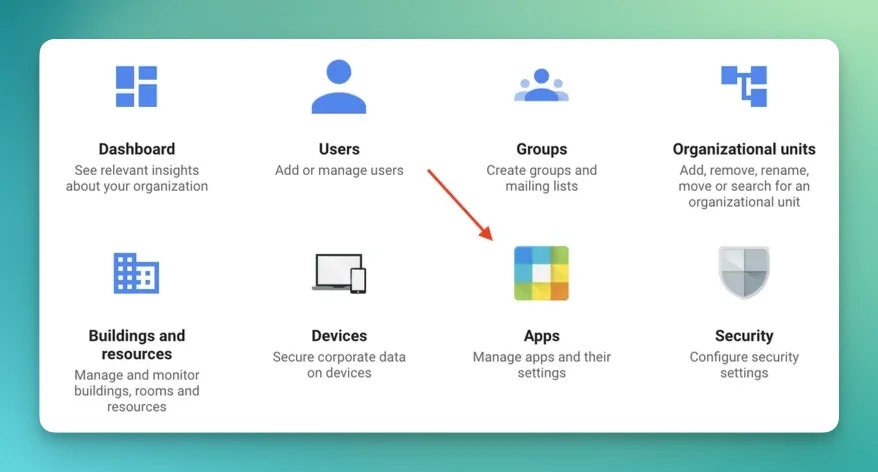
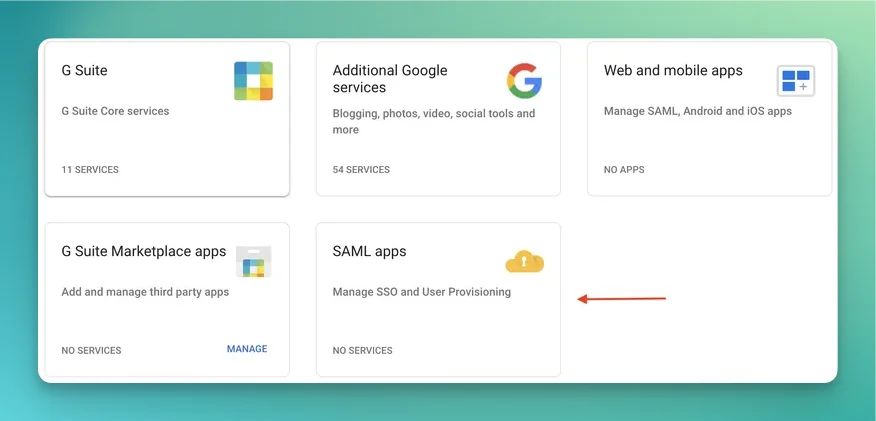
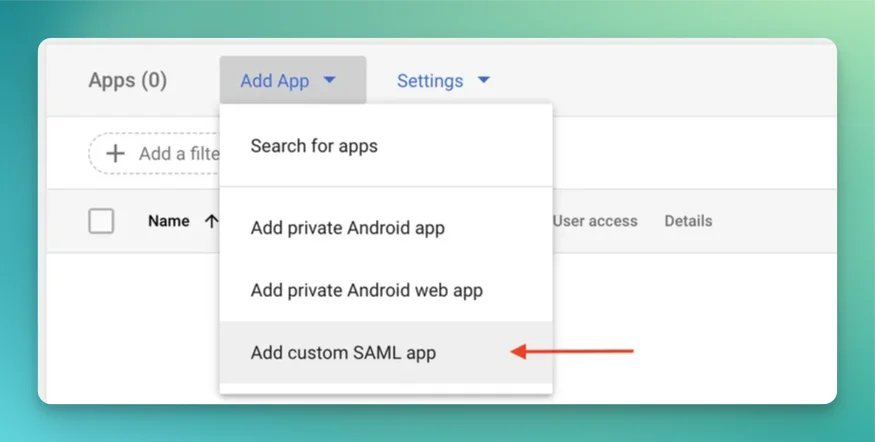
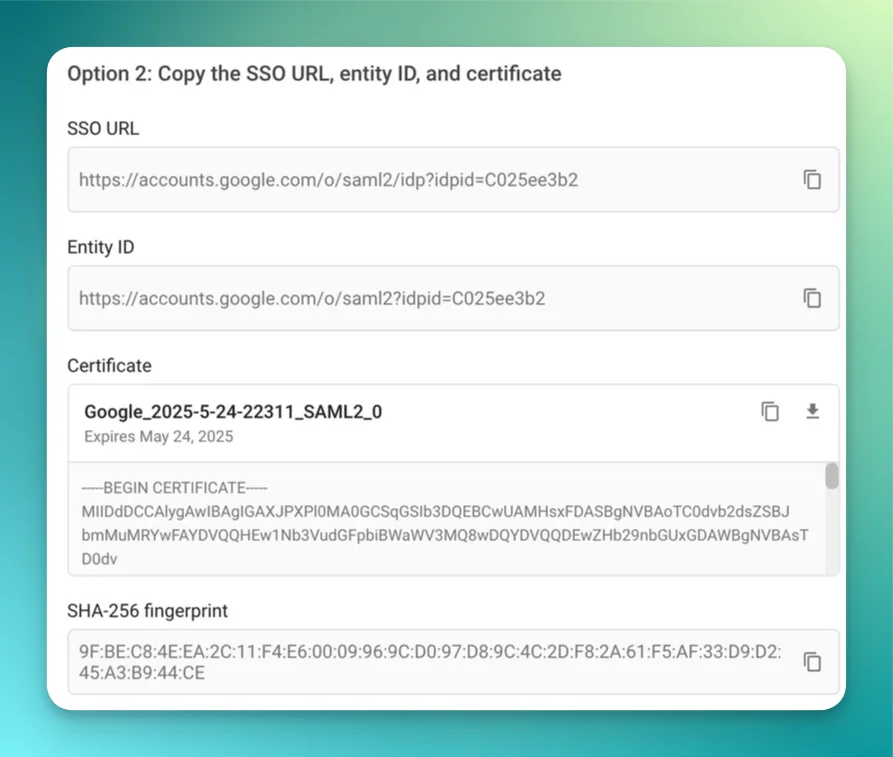
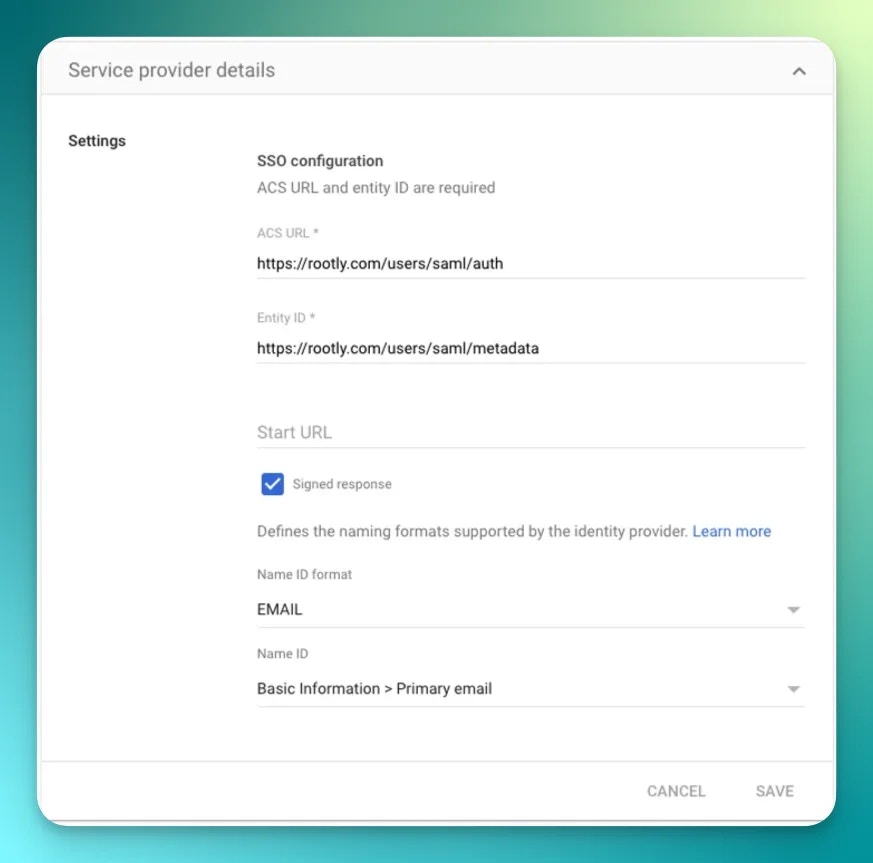
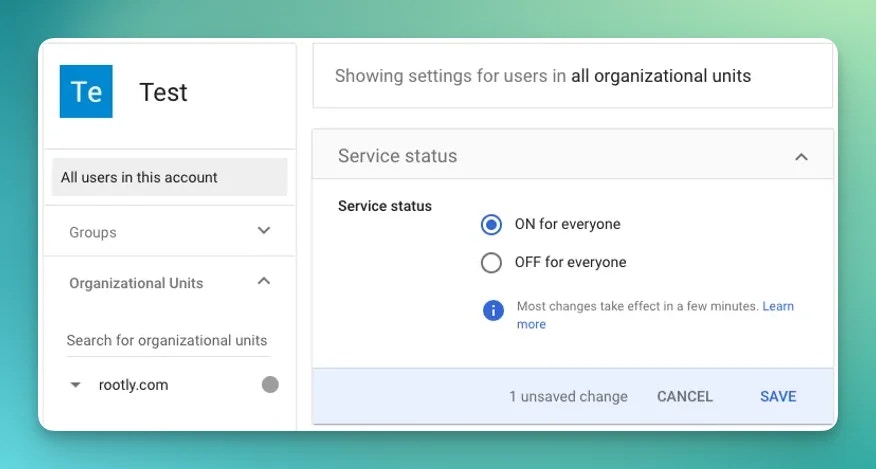
Signed Response is checked and the app ON for everyone is checked in your org unit.
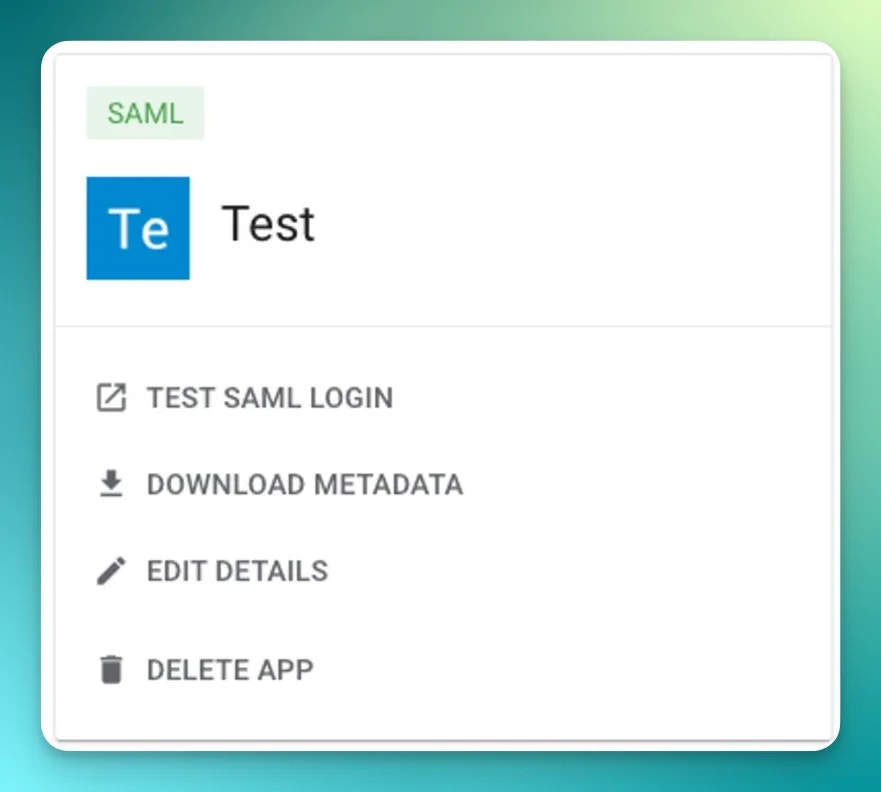
TEST SAML LOGIN button.
OneLogin
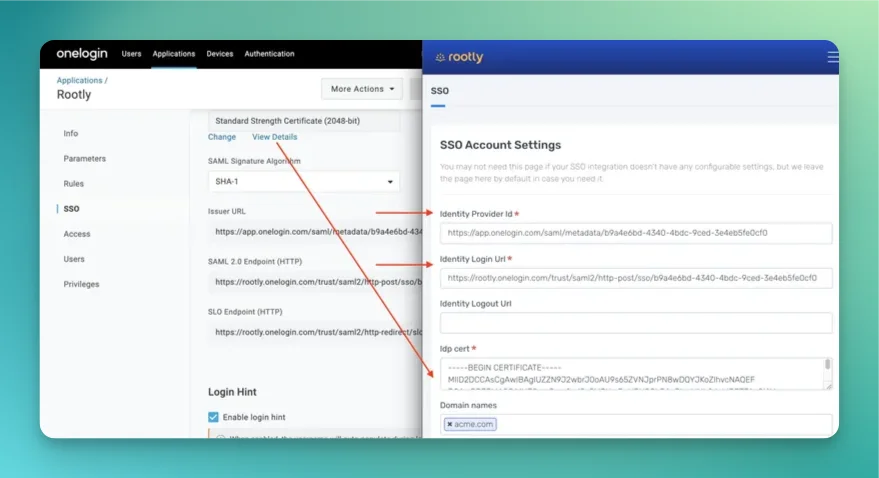
Browse the Applications Store page and install Rootly.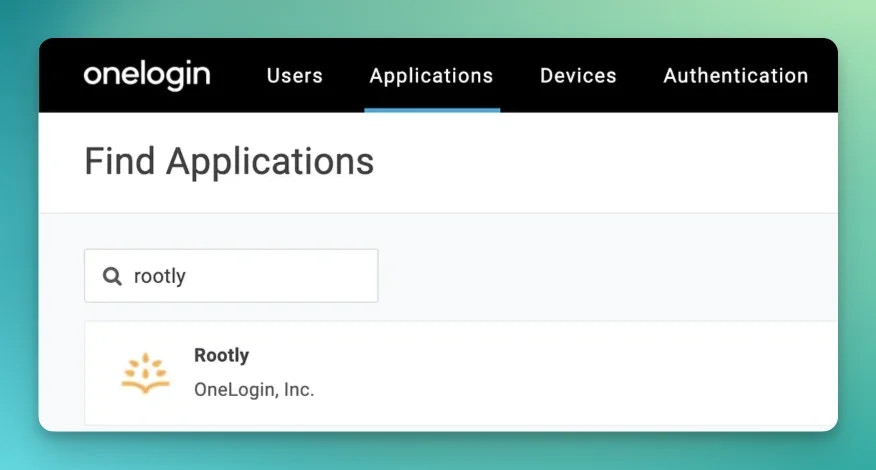
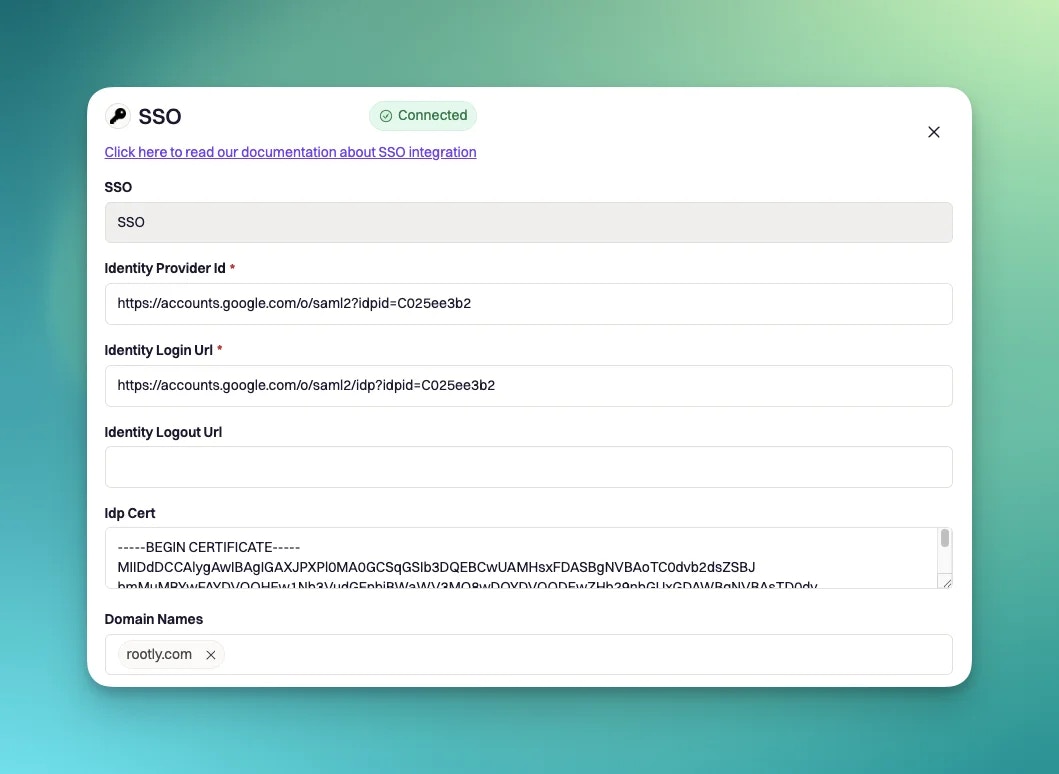
- Issuer URL -> Identity Provider ID
- SAML 2.0 endpoint -> Identity Login Url
- In the certificate section > View Details > X.509 Certificate -> Idp Cert
Auth0
Docs: https://marketplace.auth0.com/integrations/rootly-sso-integrationAzure
Install SSO integration through the Azure marketplace- Marketplace: https://azuremarketplace.microsoft.com/en-US/marketplace/apps/aad.rootly
- Tutorial: https://docs.microsoft.com/en-us/azure/active-directory/saas-apps/rootly-tutorial
Rippling
Integrate Rippling SSO + SCIM in one click https://www.rippling.com/app-shop/app/rootly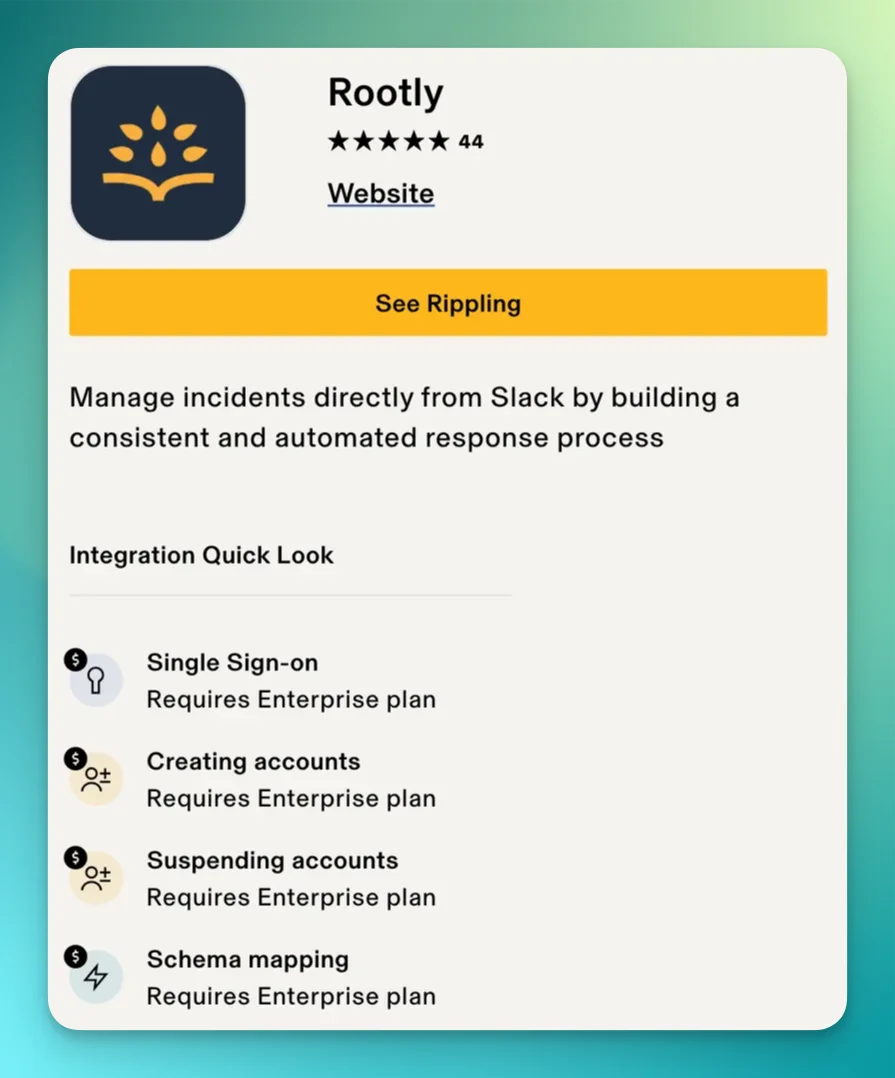
Keycloak
Keycloak is an open-source identity and access management solution. Follow these steps to configure SAML SSO with Rootly.Prerequisites
- Access to Keycloak admin console
- Keycloak realm set up (can use default
masterrealm for testing) - User account in Keycloak with email attribute configured
Step 1: Create SAML Client in Keycloak
- Navigate to Clients in the Keycloak admin console
- Click Create Client
- Select SAML as the client type
- Set Client ID to:
https://rootly.com/users/saml/metadata - Click Next and Save
Step 2: Configure Client Settings
Navigate to your client’s Settings tab and configure: Access Settings:- Root URL:
https://rootly.com/users/saml - Home URL:
https://rootly.com/users/saml - Valid redirect URIs:
https://rootly.com/*https://rootly.com/users/saml/auth
- Master SAML Processing URL:
https://rootly.com/users/saml/auth
- Name ID format:
email - Force POST binding:
On - Include AuthnStatement:
On
- Sign documents:
On - Sign assertions:
On - Signature algorithm:
RSA_SHA256 - SAML signature key name:
KEY_ID - Canonicalization method:
EXCLUSIVE
Step 3: Configure Keys
Navigate to the Keys tab:- Client signature required:
Off - Encrypt assertions:
Off
Step 4: Configure Name ID Mapper
- Go to Client scopes → Dedicated scopes → Mappers
- Create or edit the Email mapper:
- Mapper type:
User Attribute Mapper For NameID - Name:
Email - Name ID Format:
urn:oasis:names:tc:SAML:1.1:nameid-format:emailAddress - User Attribute:
email
- Mapper type:
Step 5: Configure User Email
Ensure your test user has an email address set:- Navigate to Users → Select your user
- Go to Details tab
- Set Email field (for example,
user@company.com) - Set Email verified:
Yes
Step 6: Get Keycloak Configuration
Collect the following information from Keycloak:- Identity Provider ID:
https://your-keycloak-host/realms/your-realm - Identity Login URL:
https://your-keycloak-host/realms/your-realm/protocol/saml - Certificate:
- Go to Realm Settings → Keys → RS256 → Certificate
- Copy the certificate and format with proper PEM headers:
Step 7: Configure Rootly
In your Rootly SSO integration modal, set:Jumpcloud
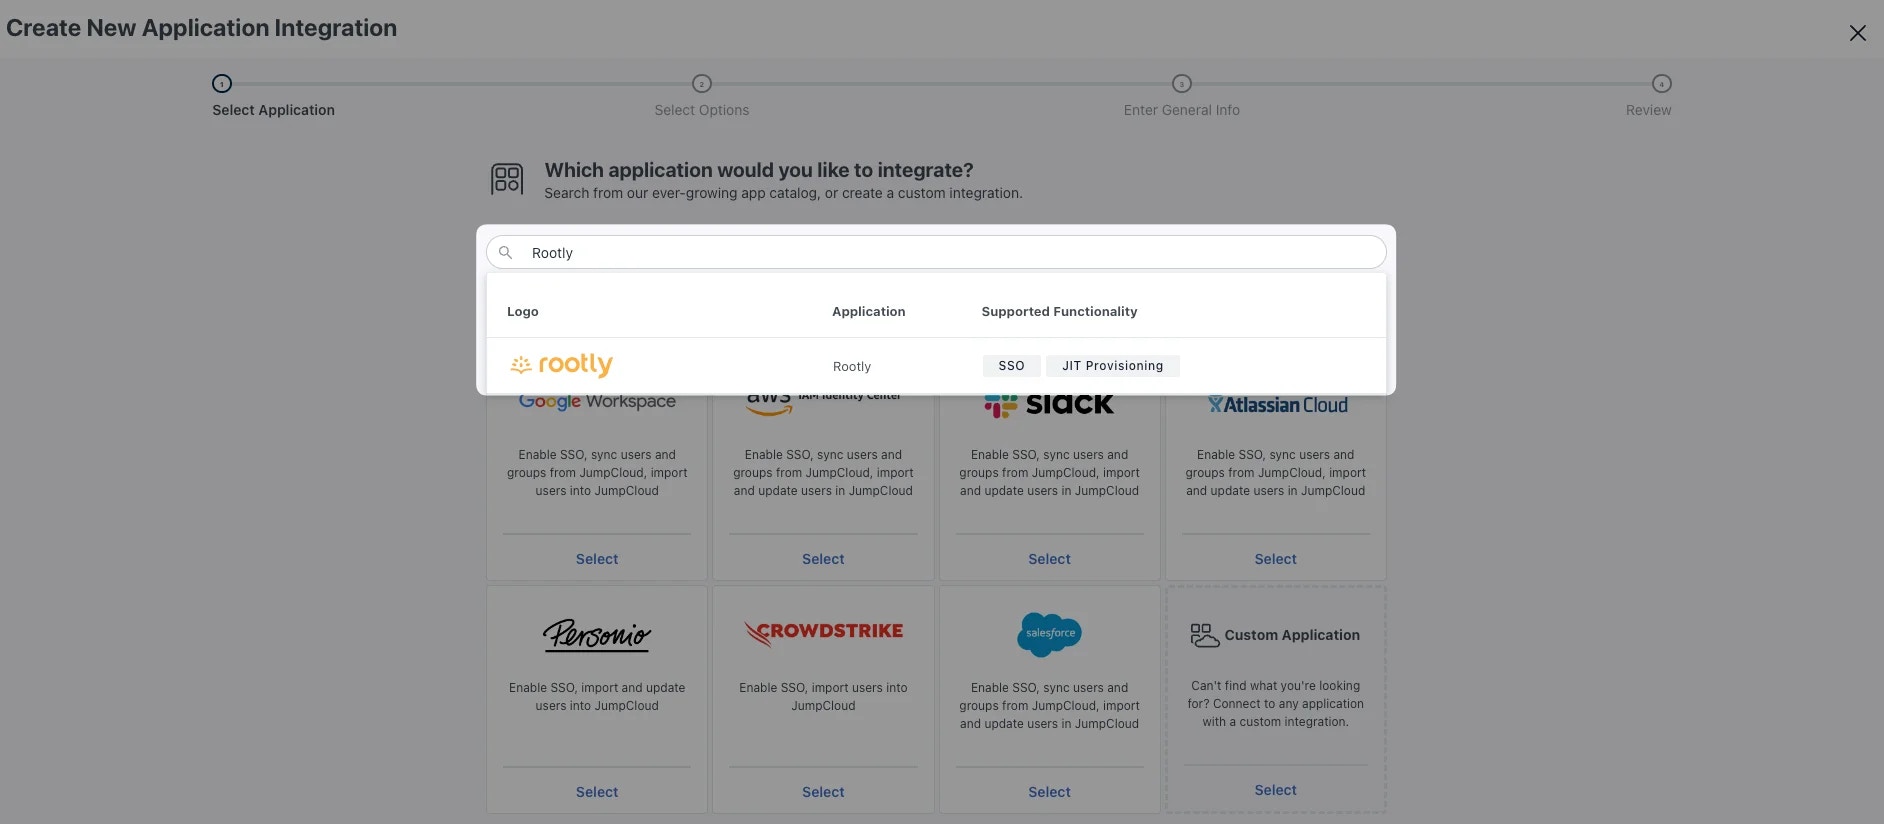
Let’s begin by navigating to the SSO Applications page from the left navigation.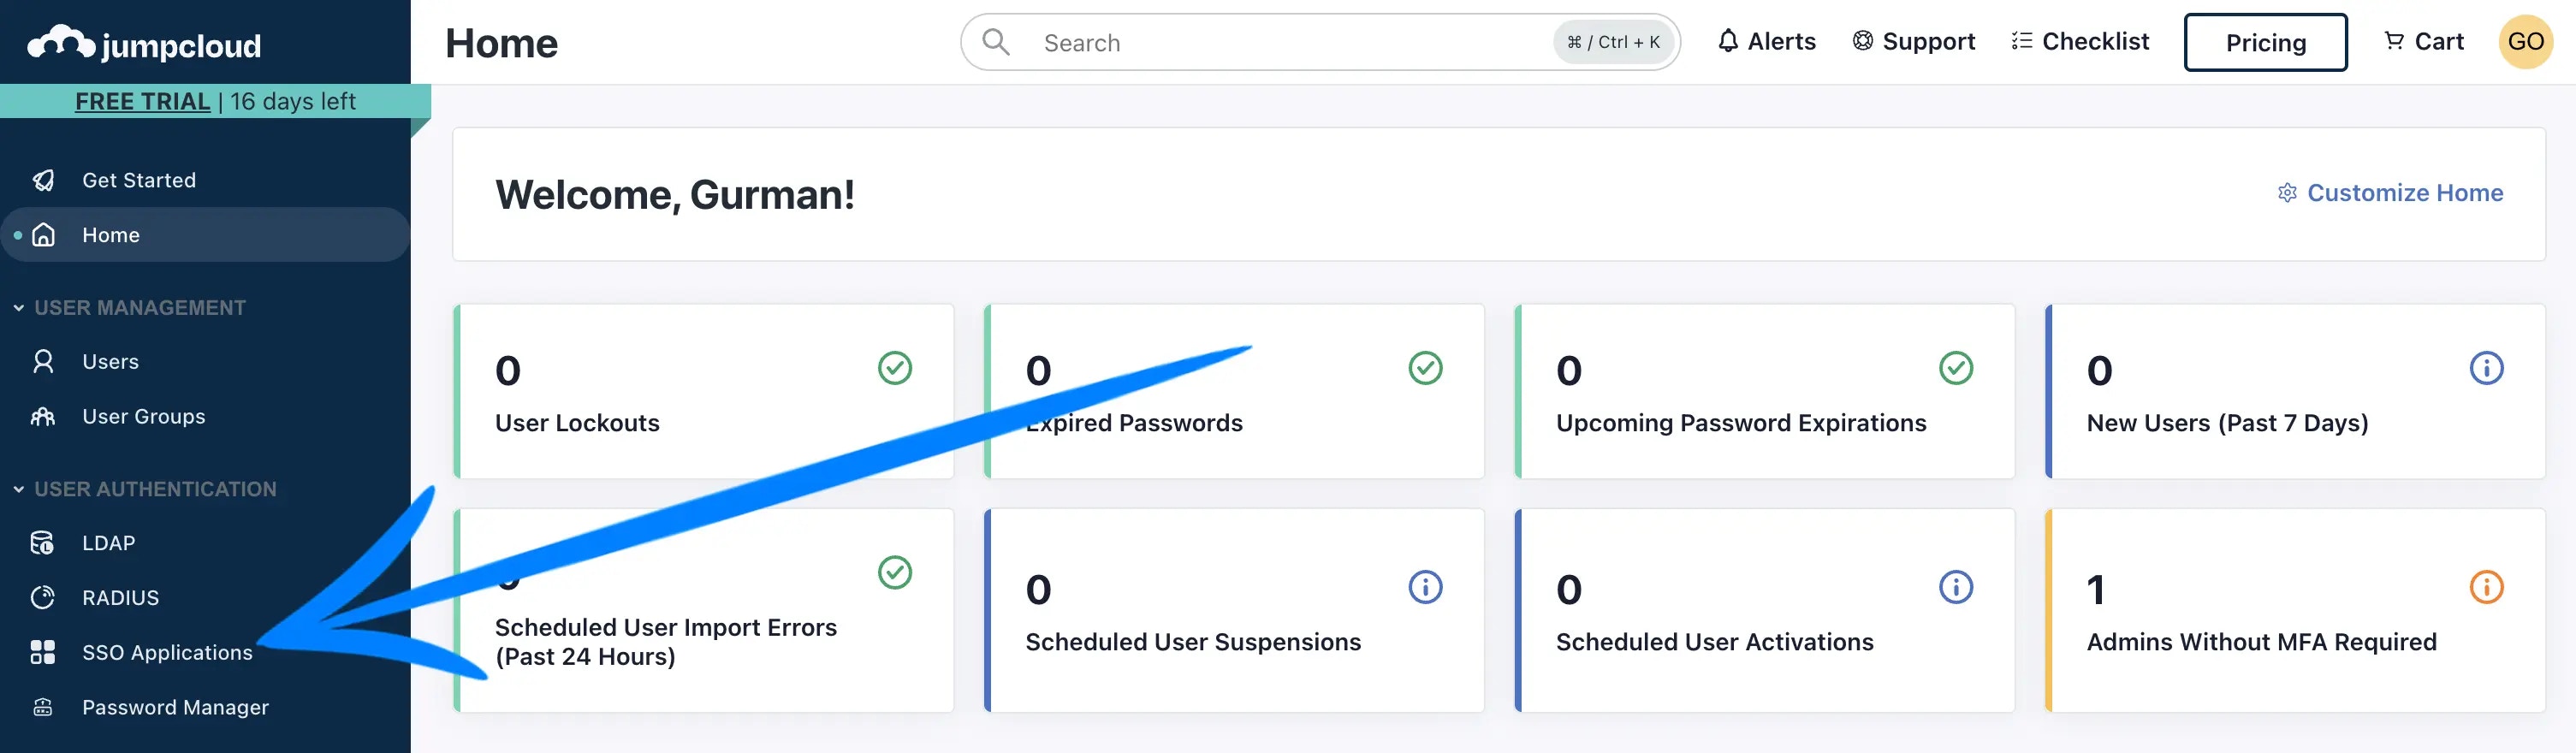
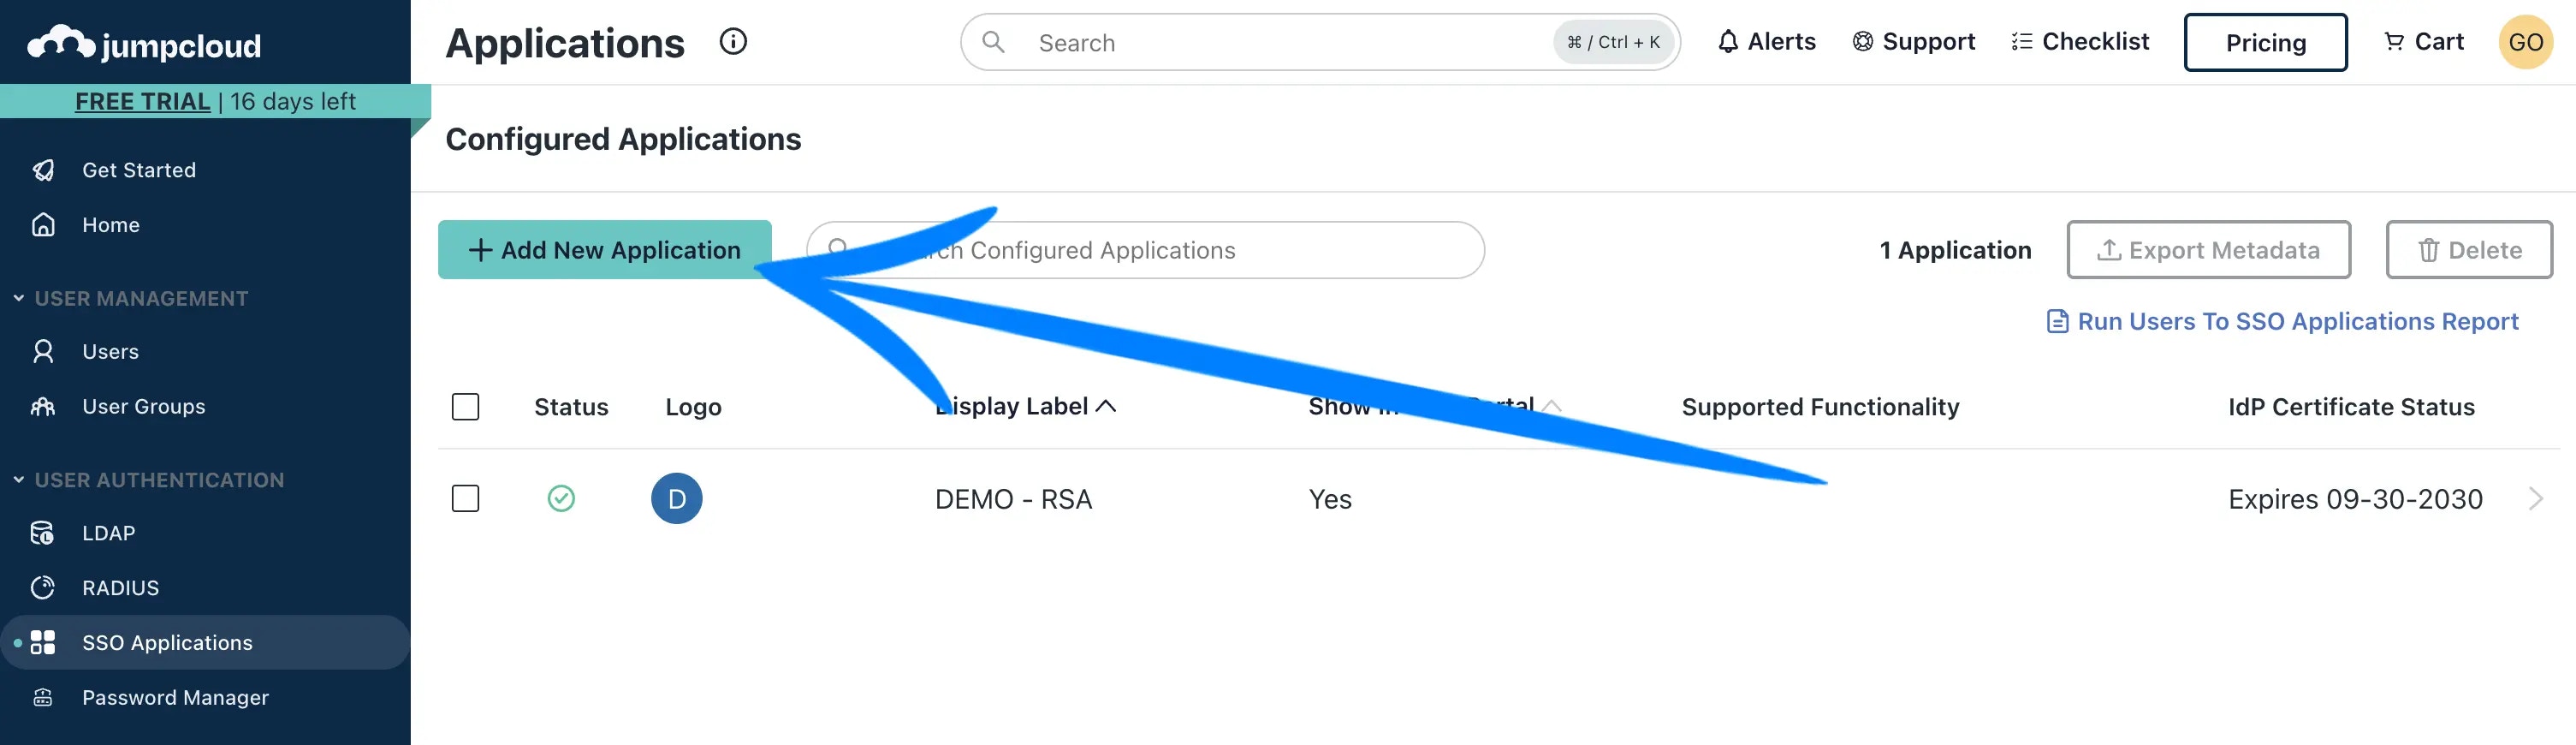
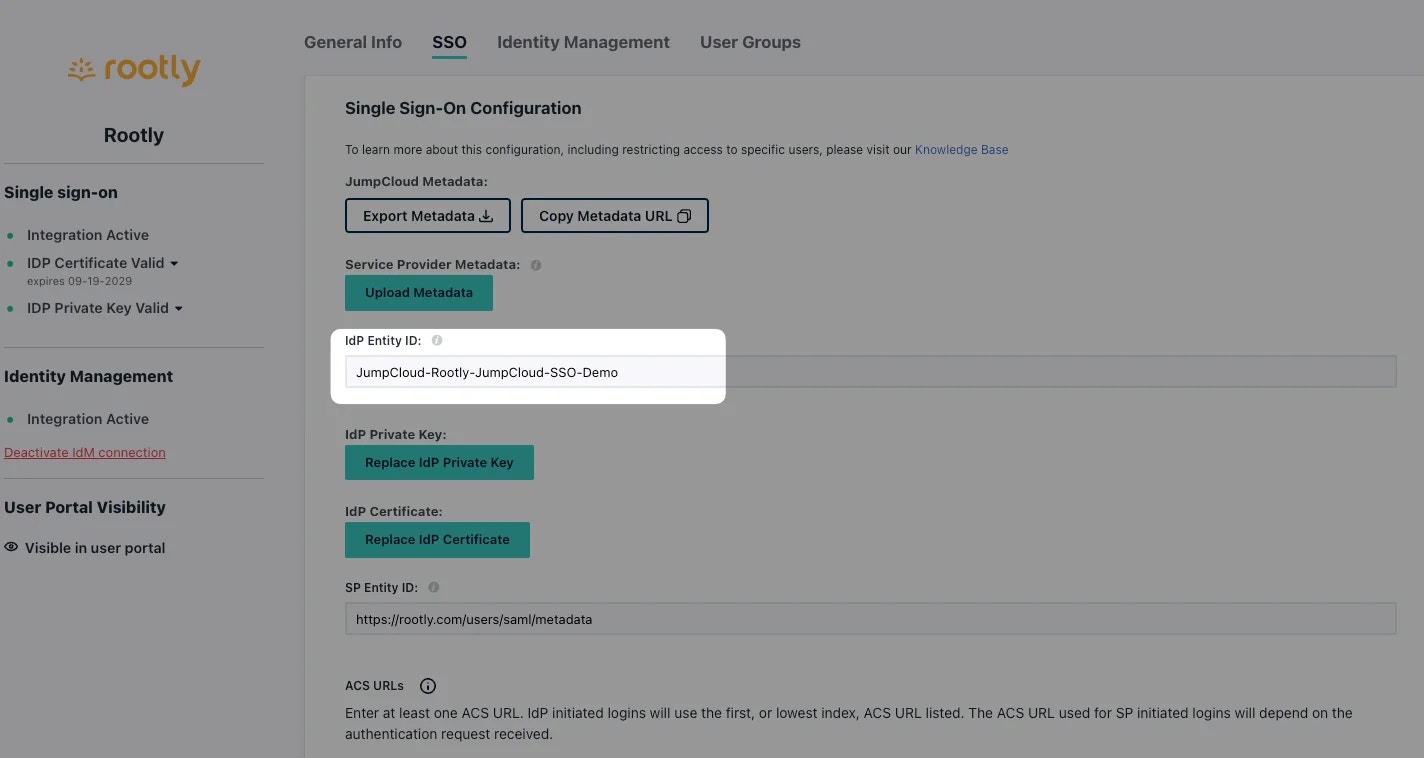
IdP Entity ID from JumpCloud to JumpCloud-<BusinessName>.
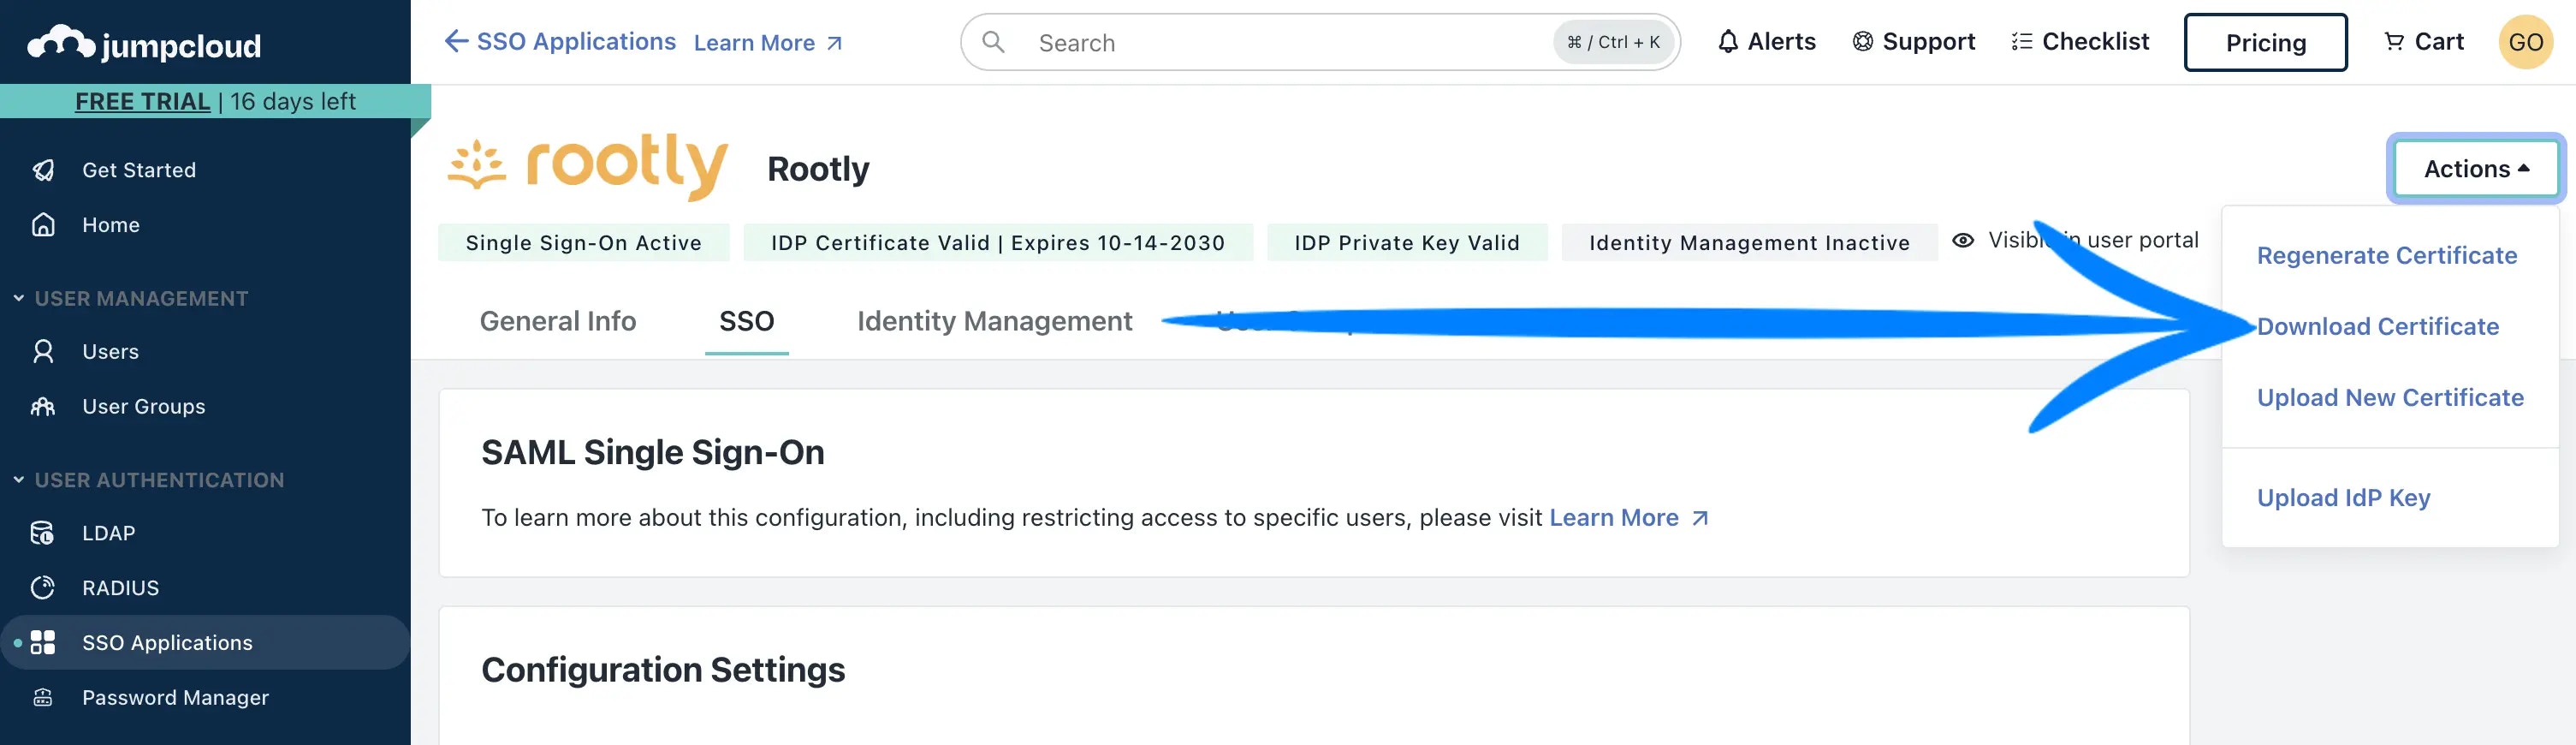
.pem file.
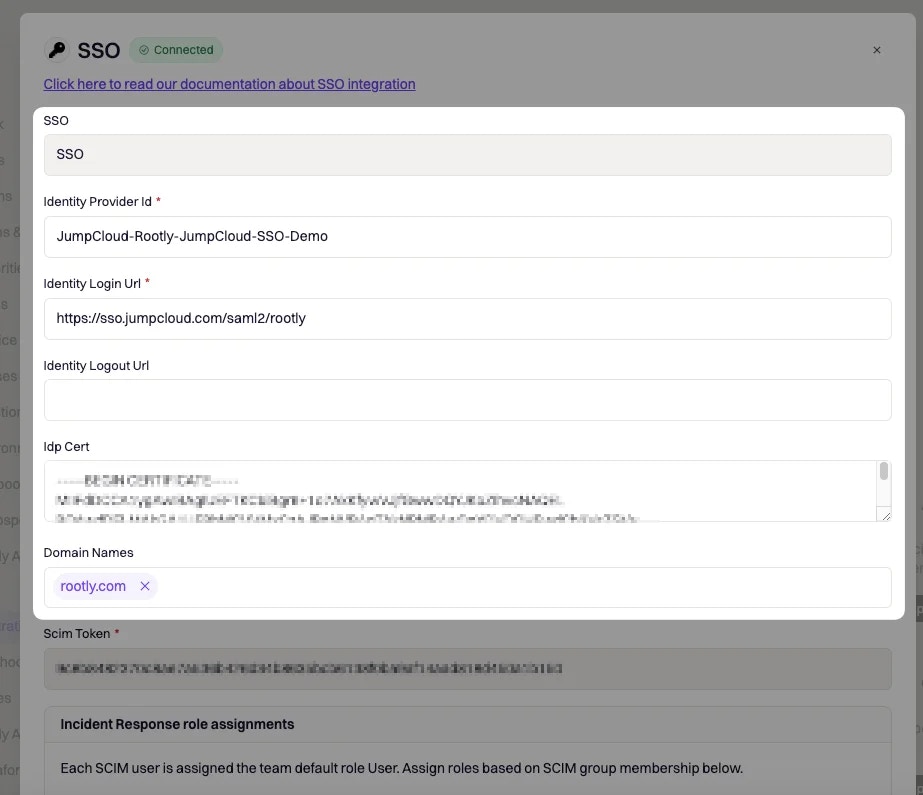
Go ahead
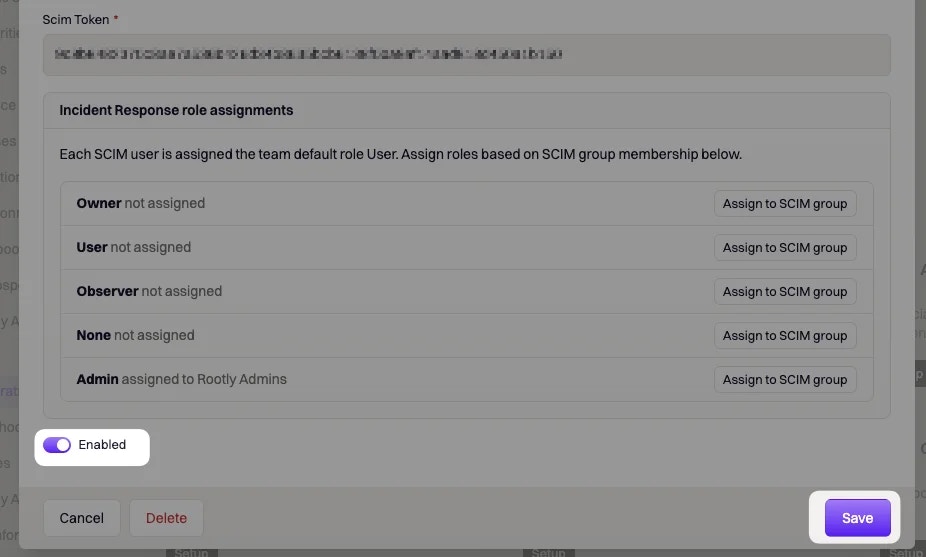
Enable and Save your SSO setup in Rootly.
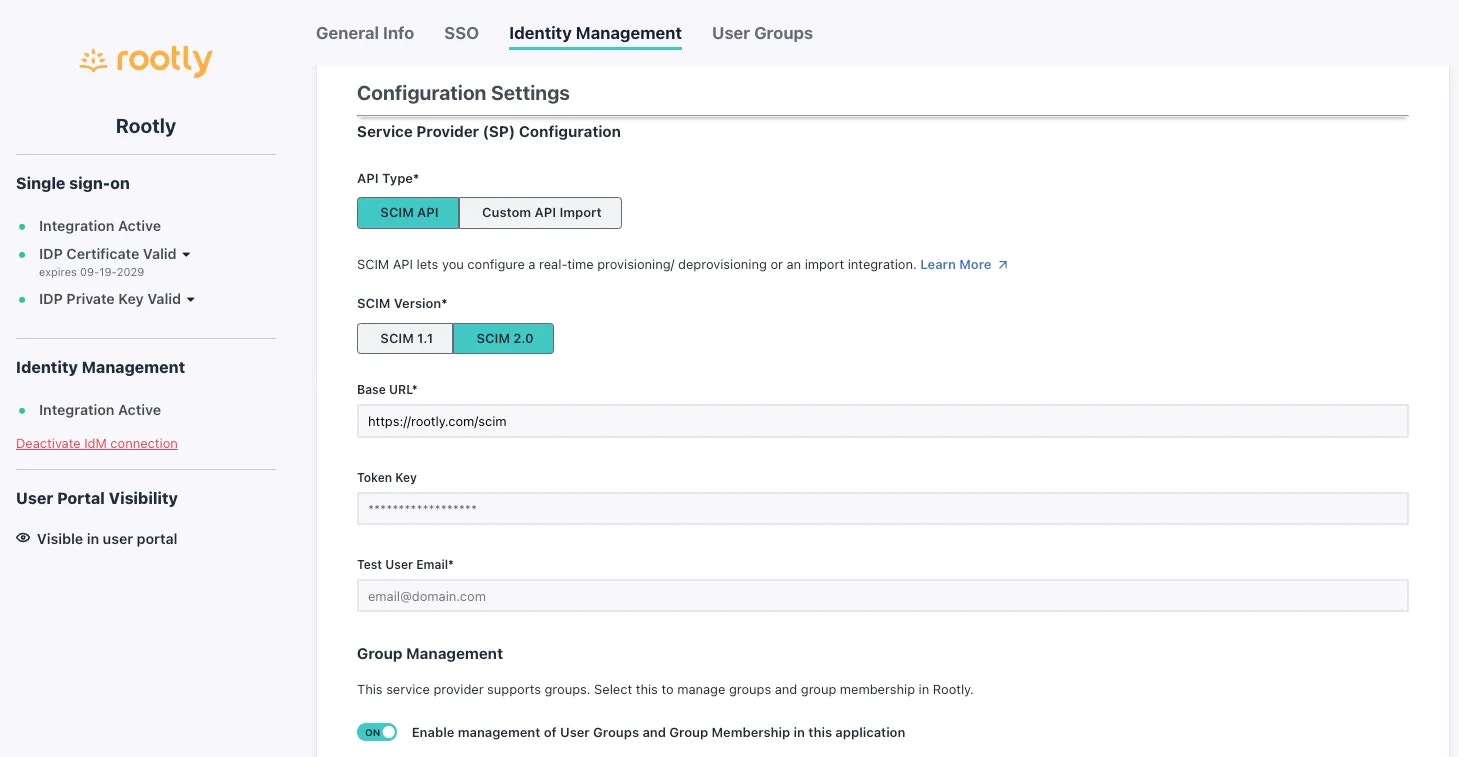
API Type:SCIM APISCIM Version:SCIM 2.0Base URL:https://rootly.com/scimToken Key: Pick this value up from your SSO Configuration screen in Rootly
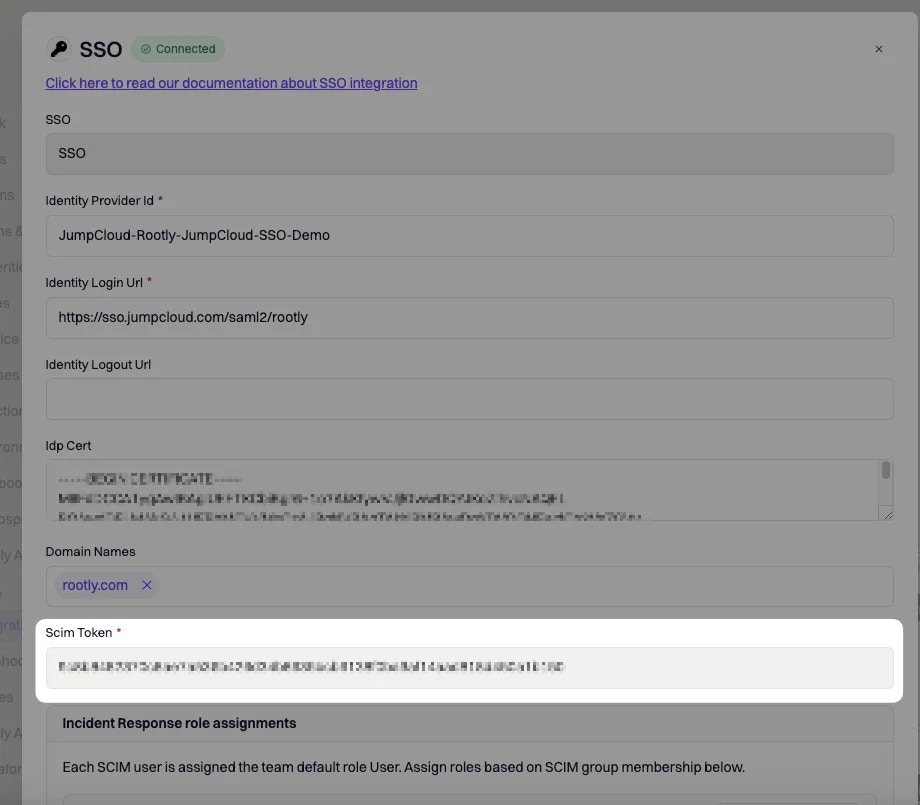
Test User Email: You can use your own email as long as the email domain matches the one set in your Rootly SSO configuration page.
Test Connection. You should see a successful message once a connection is confirmed.
If you’d like to provision users by JumpCloud Groups, go ahead and select the following option. This will allow you to provision the users in each JumpCloud Group with a specific Rootly Role.
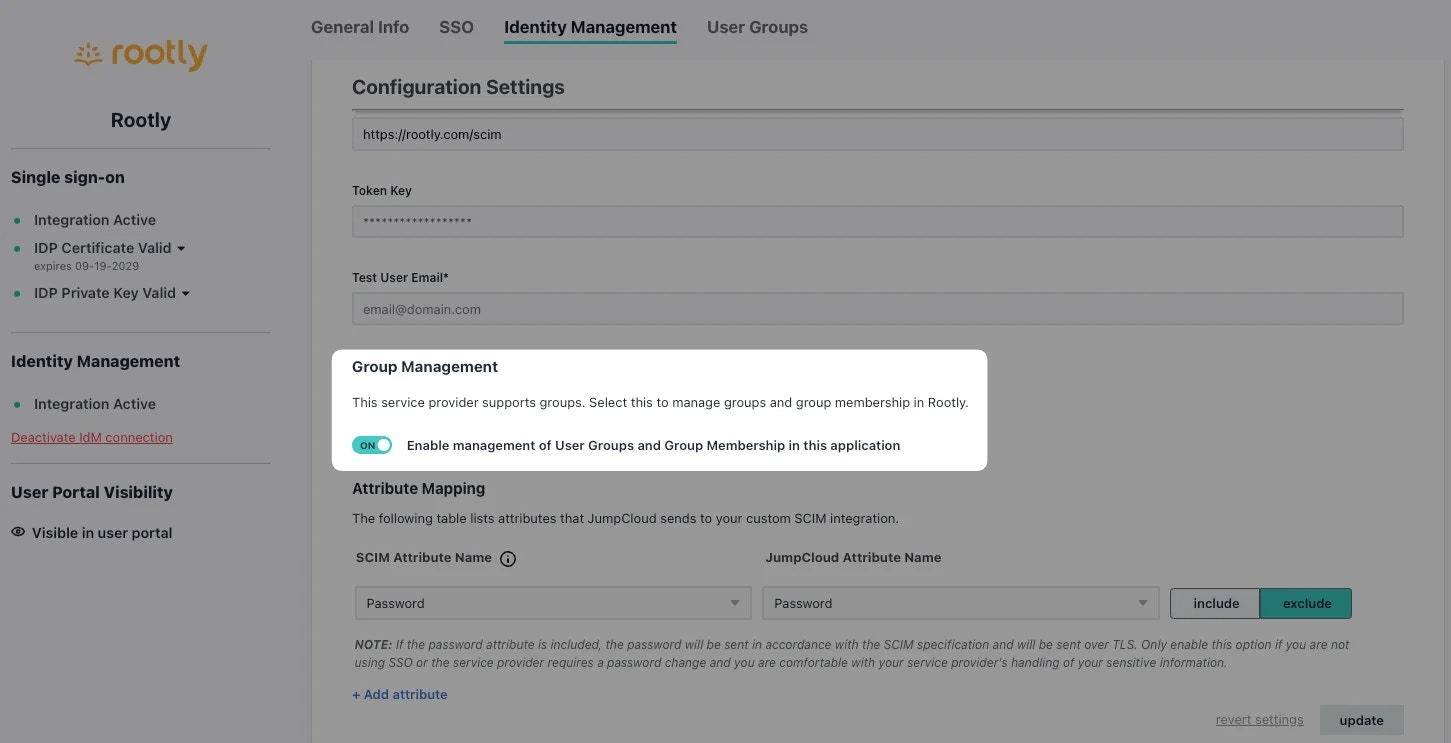
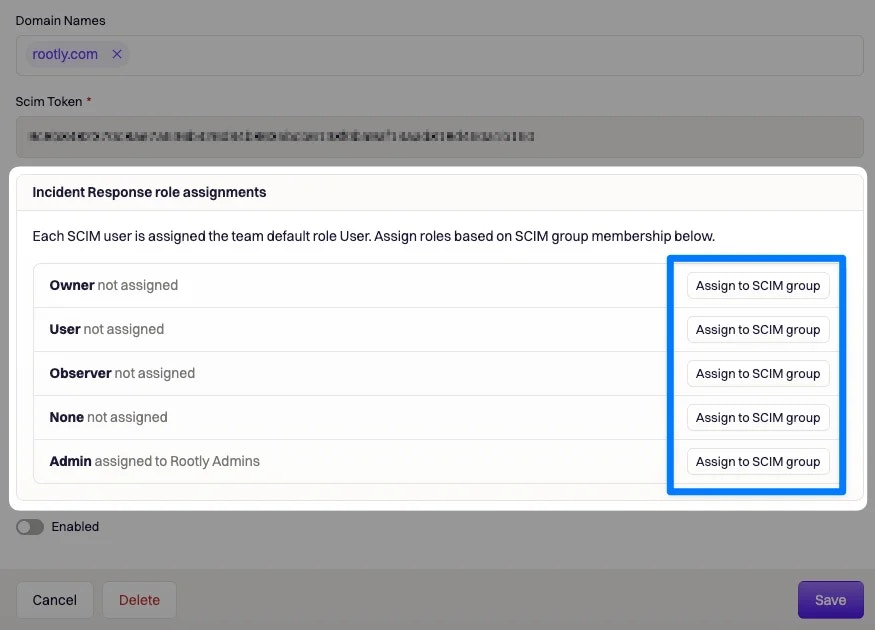
Save your configuration. You’re all set for JIT user provisioning!