

Before You Begin
We recommend performing the installation with a shared service account (e.g.,
incidents@yourcompany.com) rather than a personal account. This ensures the integration continues working if someone leaves the company. Ensure you are logged in as an Admin in Rootly.Connect Your Zoom Account
To connect Zoom to Rootly, you will authorize Rootly via OAuth. This grants Rootly the permissions it needs to create and manage meetings on your behalf.1
Open Rootly Integrations
Navigate to Configuration → Integrations in Rootly.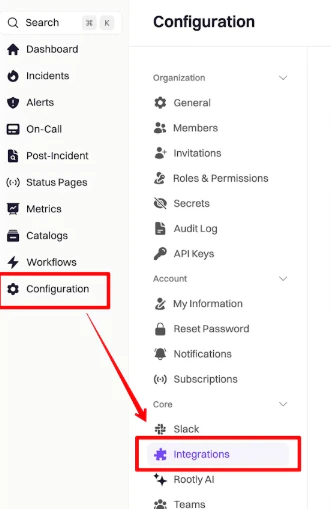
2
Find and set up Zoom
Search for Zoom and click Setup.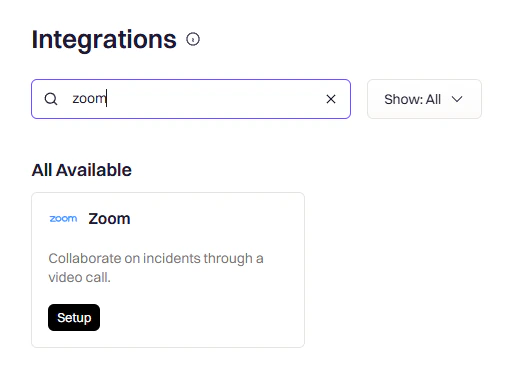
3
Sign in to Zoom
Select your sign-in method — Google, SSO, or email and password.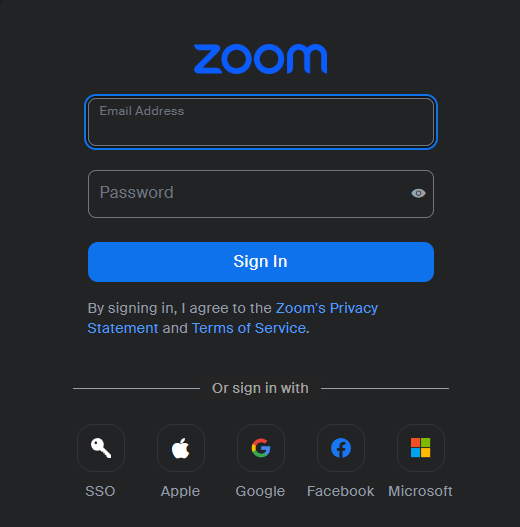
4
Select your account
Choose the Zoom account you want to connect to Rootly.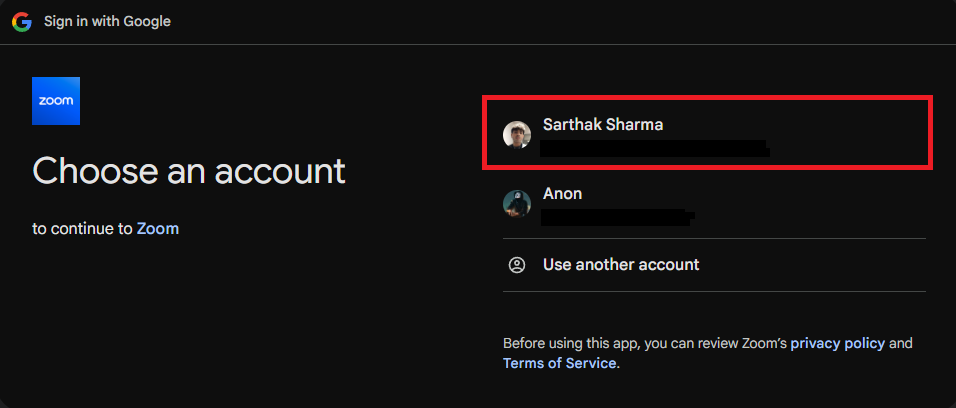
5
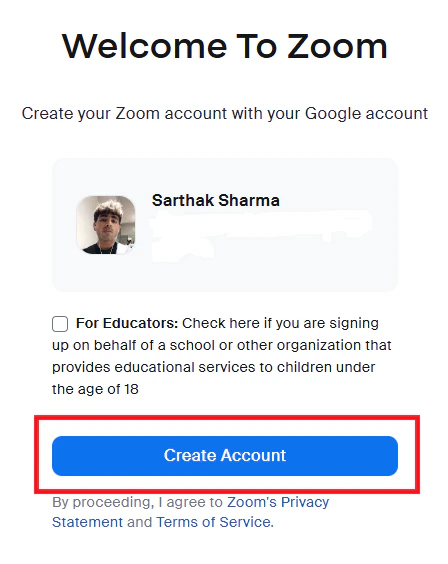
Create or confirm your Zoom account
If no Zoom account exists for this email, you will be prompted to create one.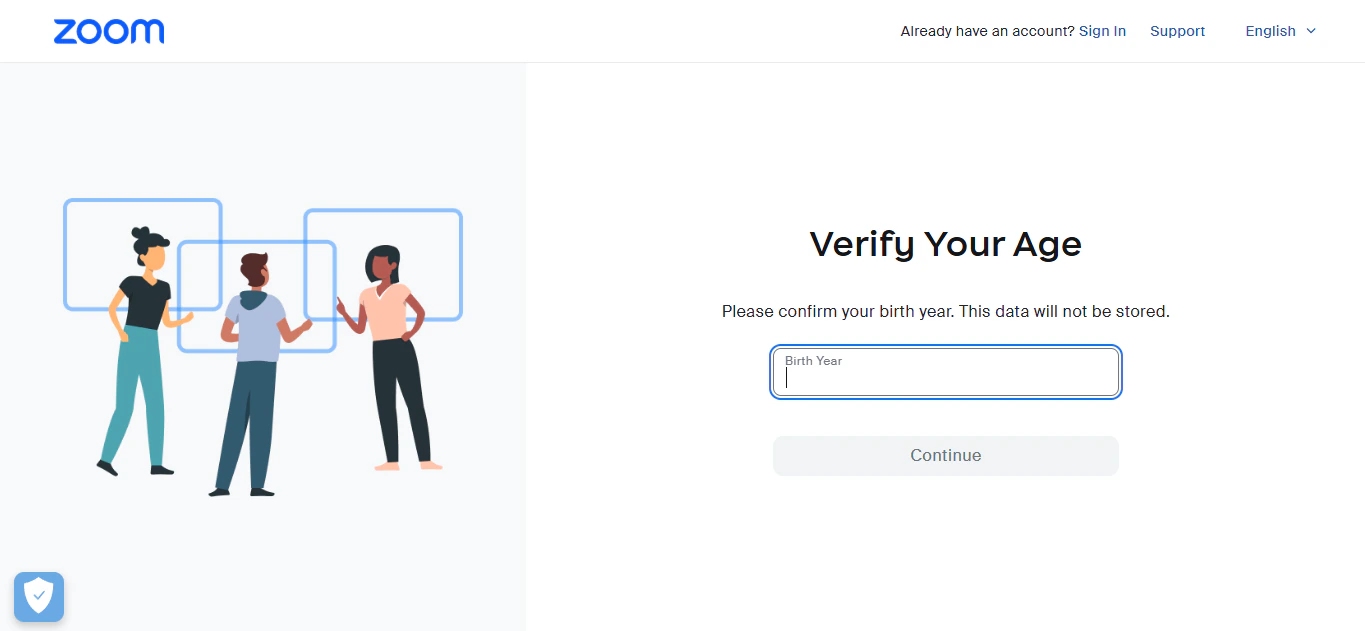
6
Authorize Rootly
Review and accept the OAuth permissions to grant Rootly access to your Zoom account.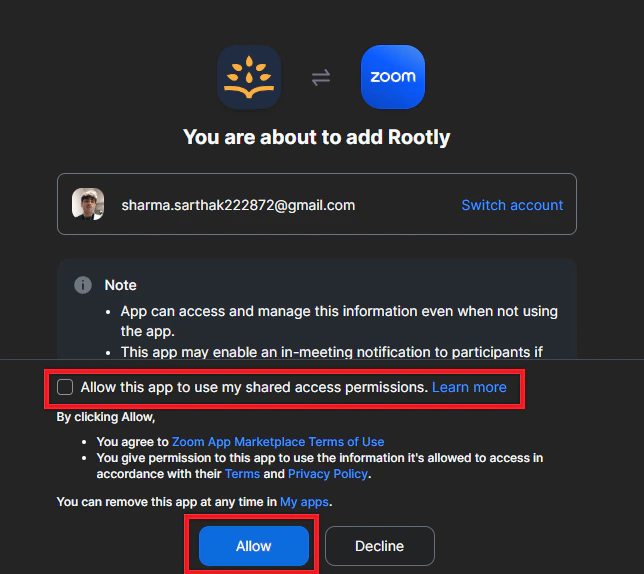
7
Confirm connection
You will be redirected back to Rootly with a success message. The integration status will show Connected with your Zoom account email.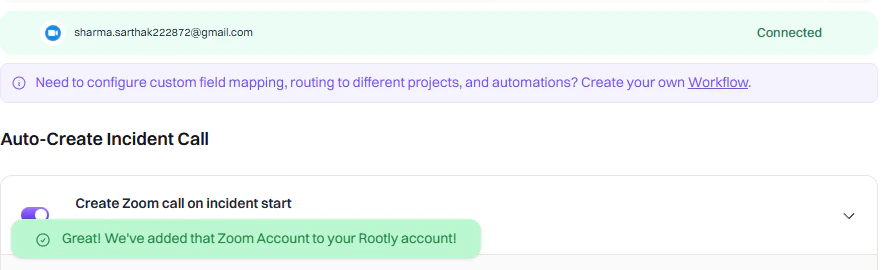
Your Zoom account is now connected to Rootly. You can configure meeting name defaults and recording preferences from the integration settings page.
OAuth Scopes
Rootly requests the following Zoom permissions during authorization:Uninstall
In Rootly:- Go to Configuration → Integrations and find Zoom
- Click the Connected button to reveal the disconnect option
- Click Delete
- Log in to your Zoom account and navigate to the Zoom App Marketplace
- Click Manage → Apps on Account or search for the Rootly app
- Click the Rootly app and select Remove or Disable