Step 1: Create Your Template Document
You create one template document with Liquid variable placeholders. Each time the workflow fires, Rootly copies that template and replaces the variables with real incident data — so you never manually copy-paste incident details again.
Create the Document
1
Open Google Drive and create a new Google Doc
Go to New → Google Docs. Give it a clear, descriptive name so it’s easy to find later — for example: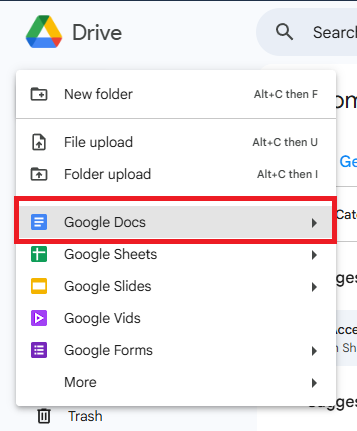
- “Rootly Retrospective Template”
- “Executive Summary Template”
- “Incident Runbook Template”
2
Add structure and Liquid variables
Design your document the way you’d want every generated doc to look. Use Liquid variables anywhere you want incident data to appear. See the template examples below for a starting point.
Template Examples
- Standard Retrospective
- Detailed Retrospective
- Executive Summary
Common Liquid Variables
Step 2: Share Your Template with Rootly
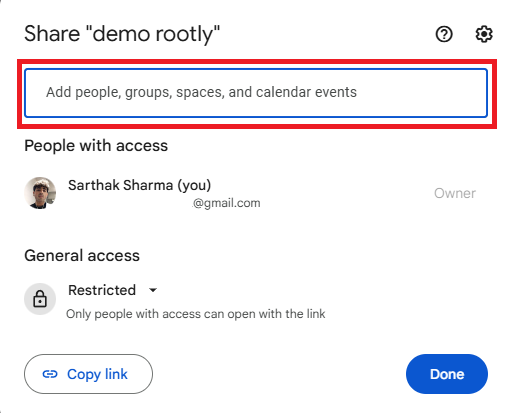
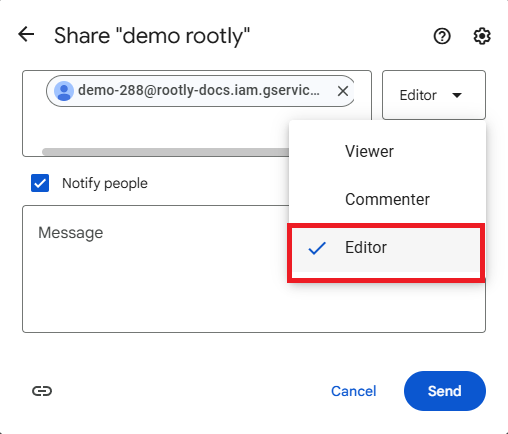
Before Rootly can use your template, it needs read access to the document.- OAuth Users
- Service Account Users
Nothing to do here — the Google account you connected in the installation step already has access to documents you own.


Step 3: Create a Workflow
With the template ready and shared, create a workflow that triggers document generation automatically.1
Navigate to Workflows and create a new workflow
Go to Rootly → Workflows → Create Workflow.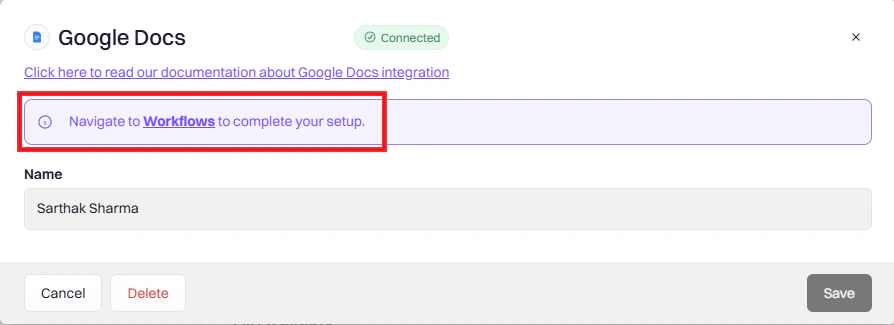
2
Select a trigger
Choose the event that should kick off document creation: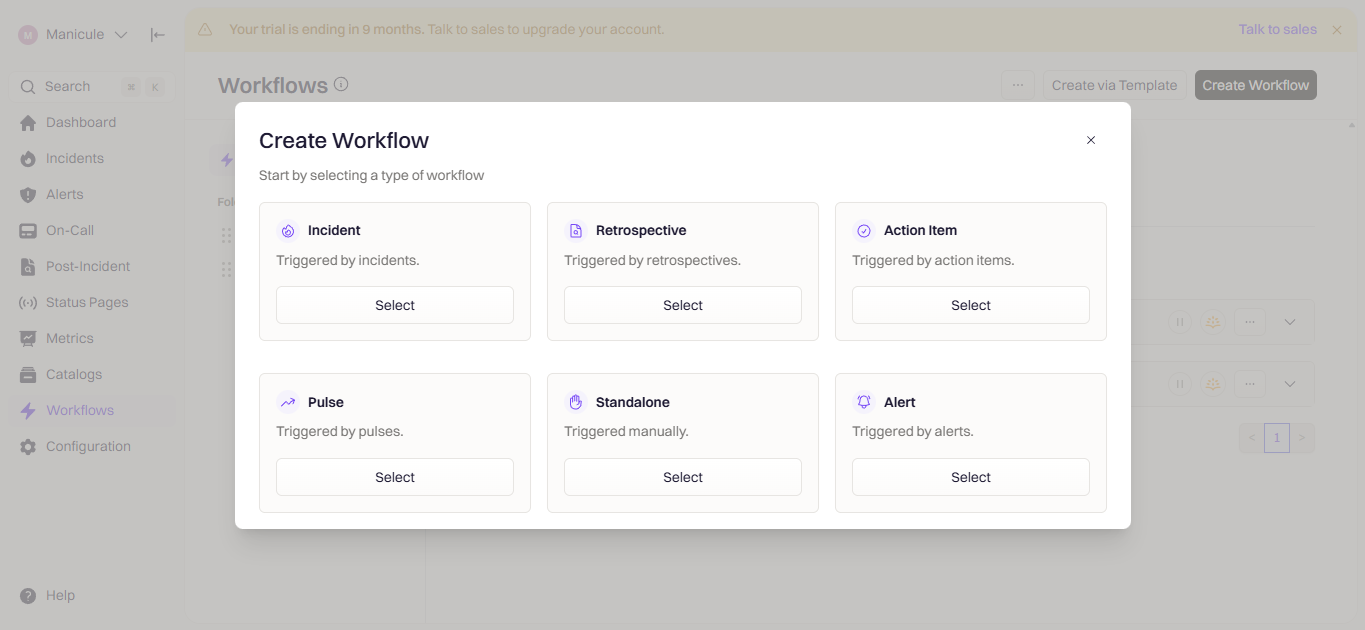
- Incident — triggers on incident events like creation or resolution
- Retrospective — triggers when retrospective status changes
- Action Item — for follow-up documentation
3
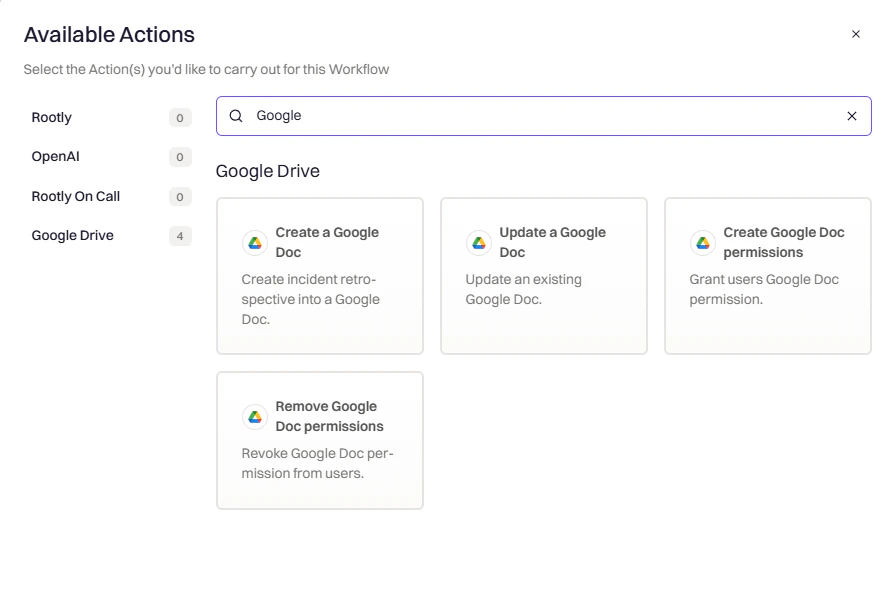
Add a Google Docs action
Click Add Action → Google Docs → Create Doc.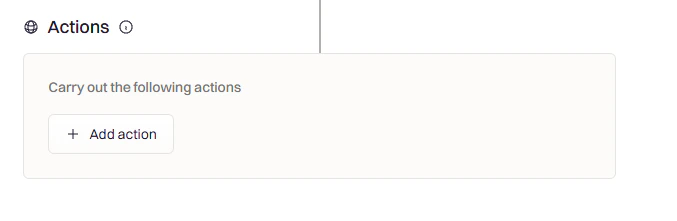
4
Select your template
Choose the template document you created in Step 1 from the dropdown.
5
Configure the workflow settings
Set any additional options — a descriptive name, conditions to filter which incidents trigger the workflow, and a destination folder in Google Drive.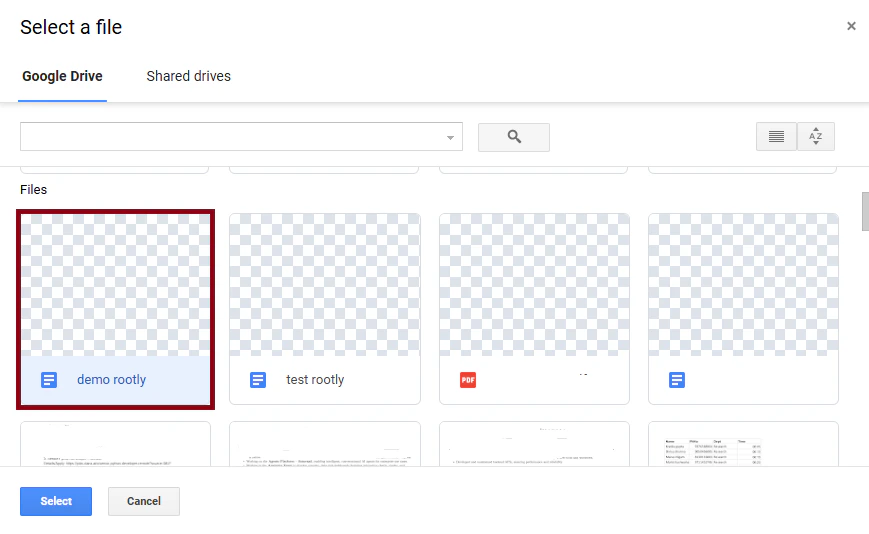
6
Activate the workflow
Save and toggle the workflow to active. It will fire on the next matching event.
Configuration Reference
Troubleshooting
Document wasn't created
Document wasn't created
- Is the workflow toggled to active?
- Does the incident meet all the workflow conditions?
- Is your template shared with Rootly? (Service Account only)
- Check the workflow execution log for errors
Variables aren't being replaced
Variables aren't being replaced
- Double-check variable spelling — Liquid is case-sensitive
- Test the variable in the Liquid Explorer
- Make sure the field has data on the incident (e.g.,
mitigated_atwon’t exist on an unmitigated incident) - Use
| default: "N/A"to handle missing values gracefully
Permission errors during document creation
Permission errors during document creation
- OAuth: Re-authenticate if your access token has expired
- Service Account: Confirm the template is shared with the service account as Editor
- Confirm domain-wide delegation is still active in Google Admin
Document saved to the wrong folder
Document saved to the wrong folder
- Folder paths use forward slashes — confirm the path is correct
- Parent folders must already exist in Drive; Rootly won’t create them
- Test any Liquid expressions in the folder path separately
Best Practices
- Test with a real incident before relying on the workflow in production
- One template per document type — keep retrospective, runbook, and executive summary templates separate
- Use
| default:for optional fields so missing data doesn’t leave blank placeholders in your docs - Version your templates by keeping a dated copy before making significant changes
Next Steps
Test Your Workflow
Create a test incident to confirm the workflow fires and the document generates correctly
Liquid Explorer
Test Liquid variables against real incident data before adding them to your template